Display Rules
Display Rules let you configure when and to whom your campaigns appear. They are divided into three sections: Audience Targeting, Triggers, and Safeguards.
AUDIENCE TARGETING
Section titled “AUDIENCE TARGETING”Audience Targeting lets you show or hide campaigns based on whether a visitor belongs to a specific audience segment in your CRM/ESP integration (such as Voyado or ActiveCampaign).
To use this feature, you need a connected integration that supports audience segments. Once configured, Fluentos checks the visitor’s audience membership in real time and displays the campaign only if the condition is met.
The following strategies are available:
- In audience: Show the campaign only to visitors who belong to the selected audience.
- Not in audience: Show the campaign only to visitors who do not belong to the selected audience.
TRIGGERS
Section titled “TRIGGERS”1. Landing
Section titled “1. Landing”Enabling this trigger means the campaign will appear on the website as soon as the user loads the website page.
2. New Customers
Section titled “2. New Customers”If you want to target first-time visitors only, you can enable this trigger.
3. Returning Customers
Section titled “3. Returning Customers”Enable this trigger if you want to target returning customers (who have visited your website in the past).
4. Exit Intent
Section titled “4. Exit Intent”If enabled, it will trigger the campaign to run and display the popup on the website when the end-user’s mouse moves outside the browser’s bounds. For example, when the user attempts to move the cursor to open a new tab or switch to another tab.
5. Visited Page Count
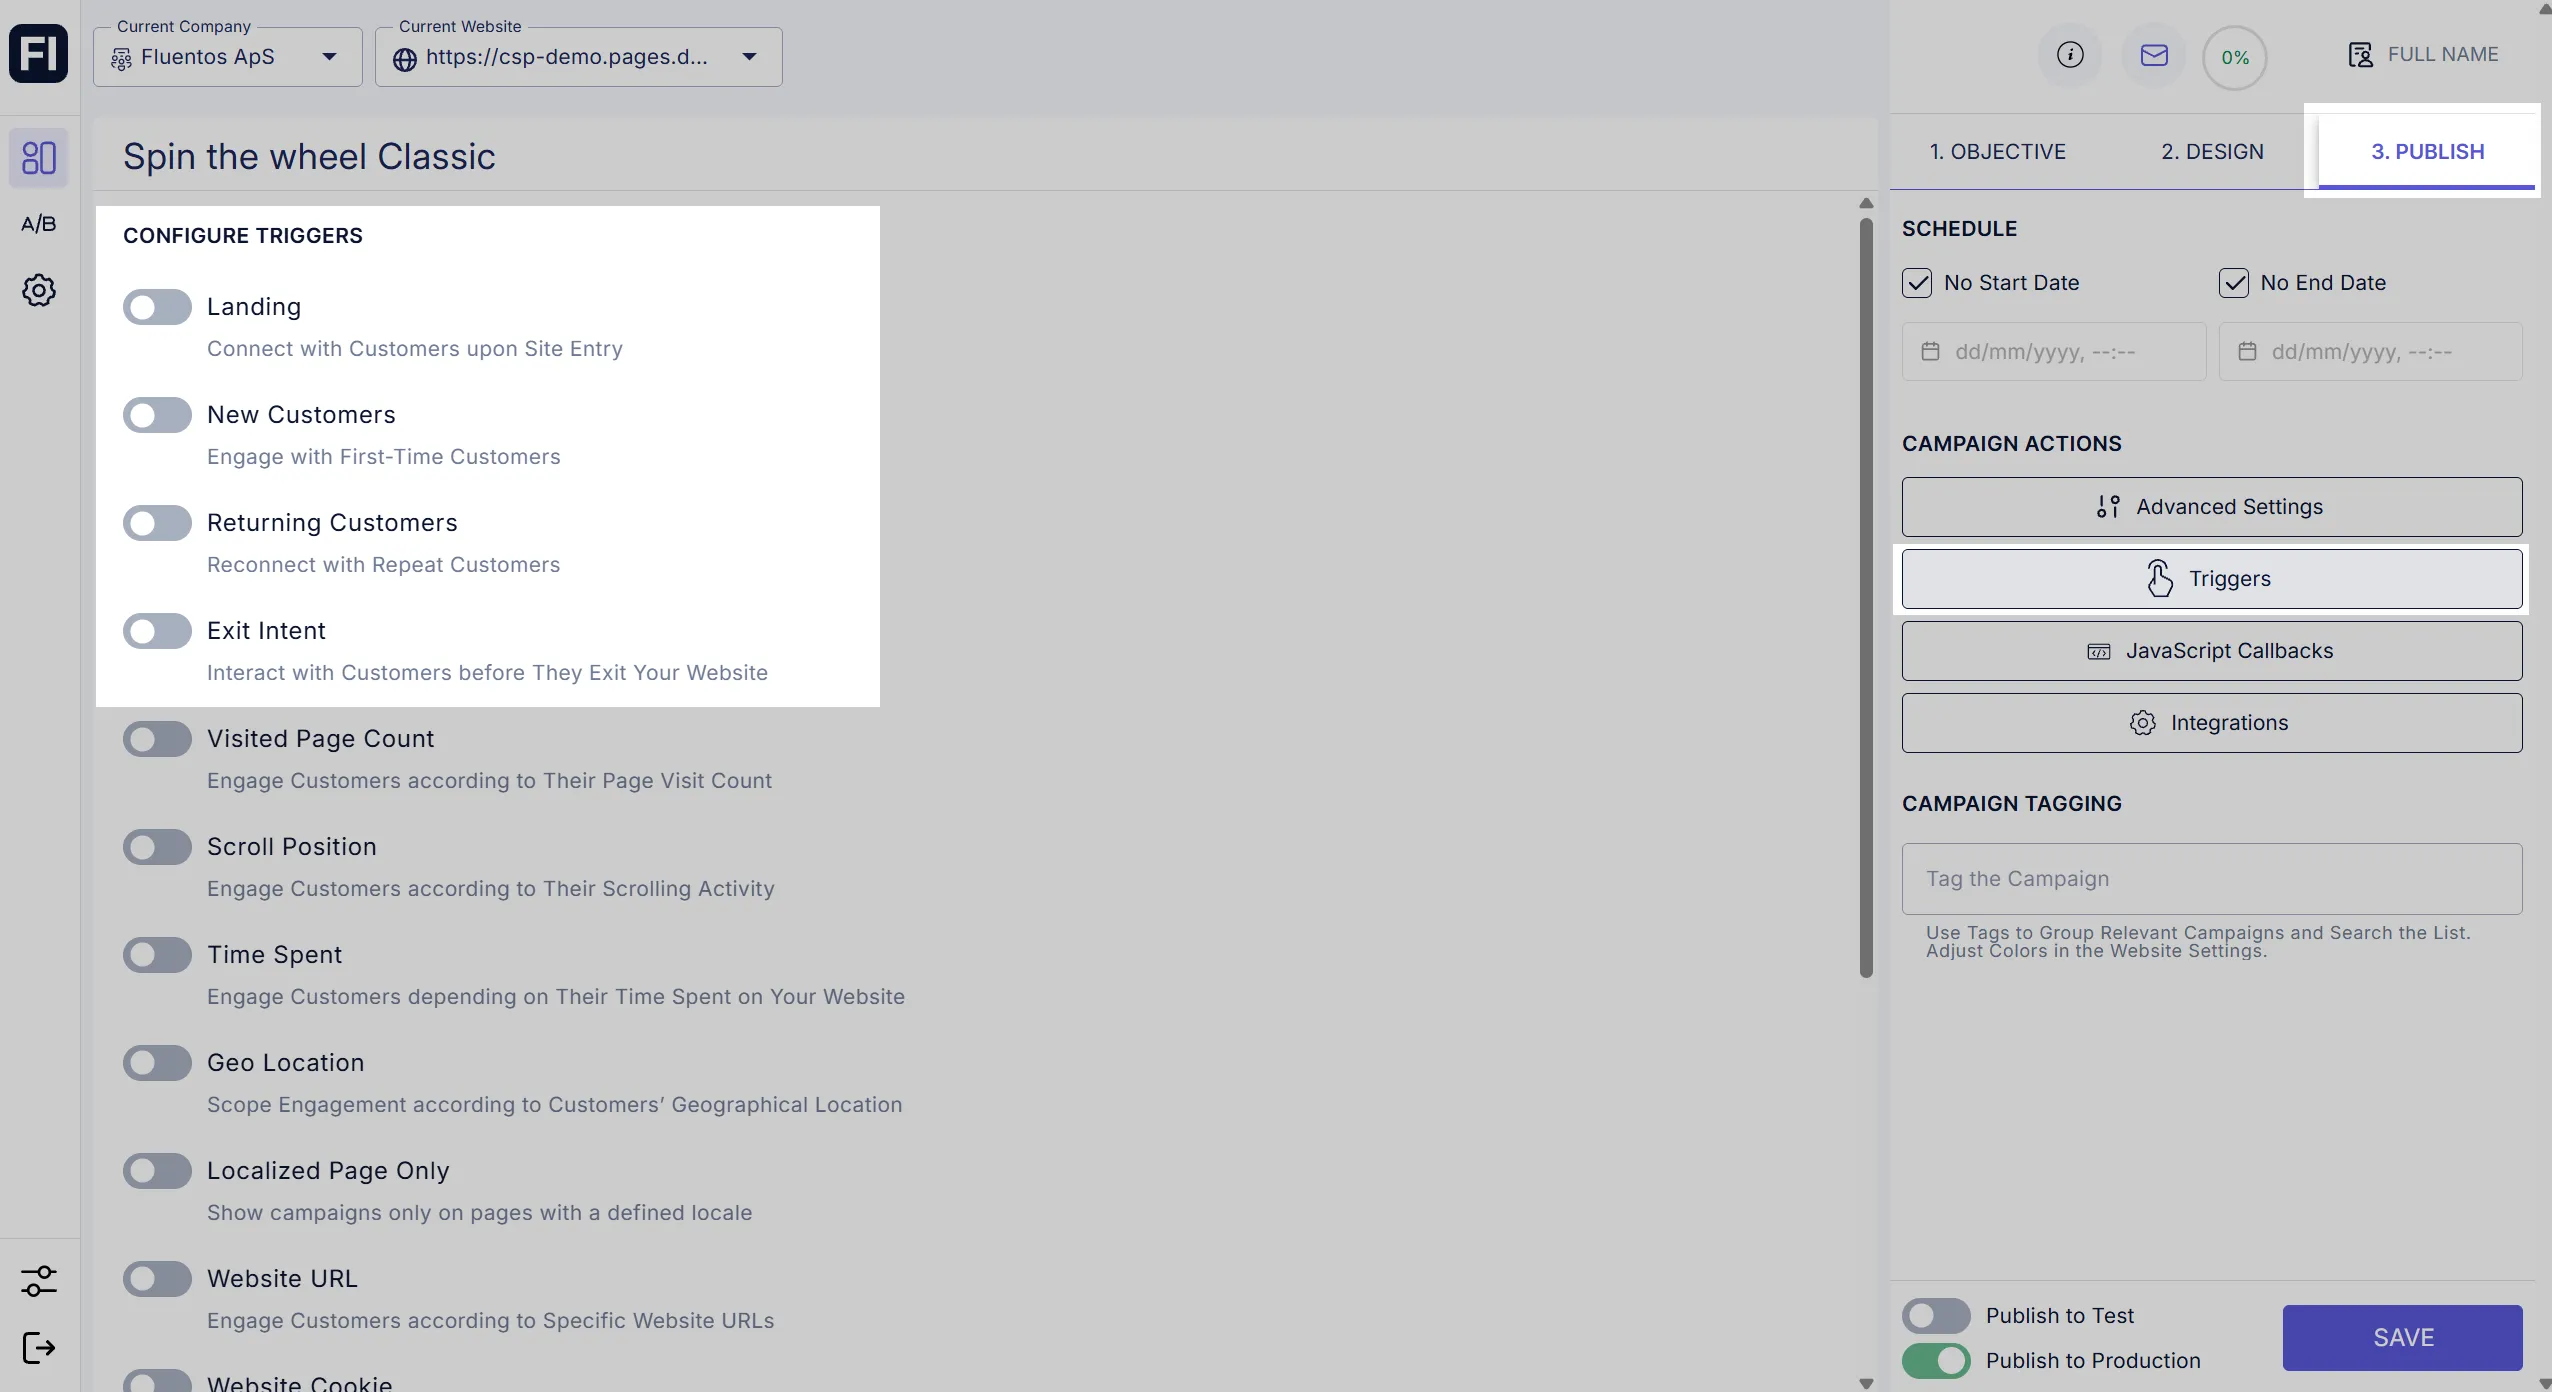
Section titled “5. Visited Page Count”If enabled, this trigger runs the campaign only when certain page count conditions are met. You can configure this trigger with the following two types of settings. Only one of the following can be selected at a time for a campaign. Use the Value dropdown to choose the page count. The minimum value allowed is 1, and the maximum value can be 20.
-
Is Equal to a Page Count: This option is used when the visited page count exactly matches the defined number. For example, if the page count value is 4, then the campaign will appear on the website when the user has visited exactly four pages of the website or visited the same page four times (by refreshing the page).
-
Is More than a Defined Page Count: The campaign appears only when the visited page count exceeds the defined value. For example, if the defined page count value is 4, the campaign will appear when the user visits the fifth page or the same page a fifth time (by refreshing/reloading).
6. Scroll Position
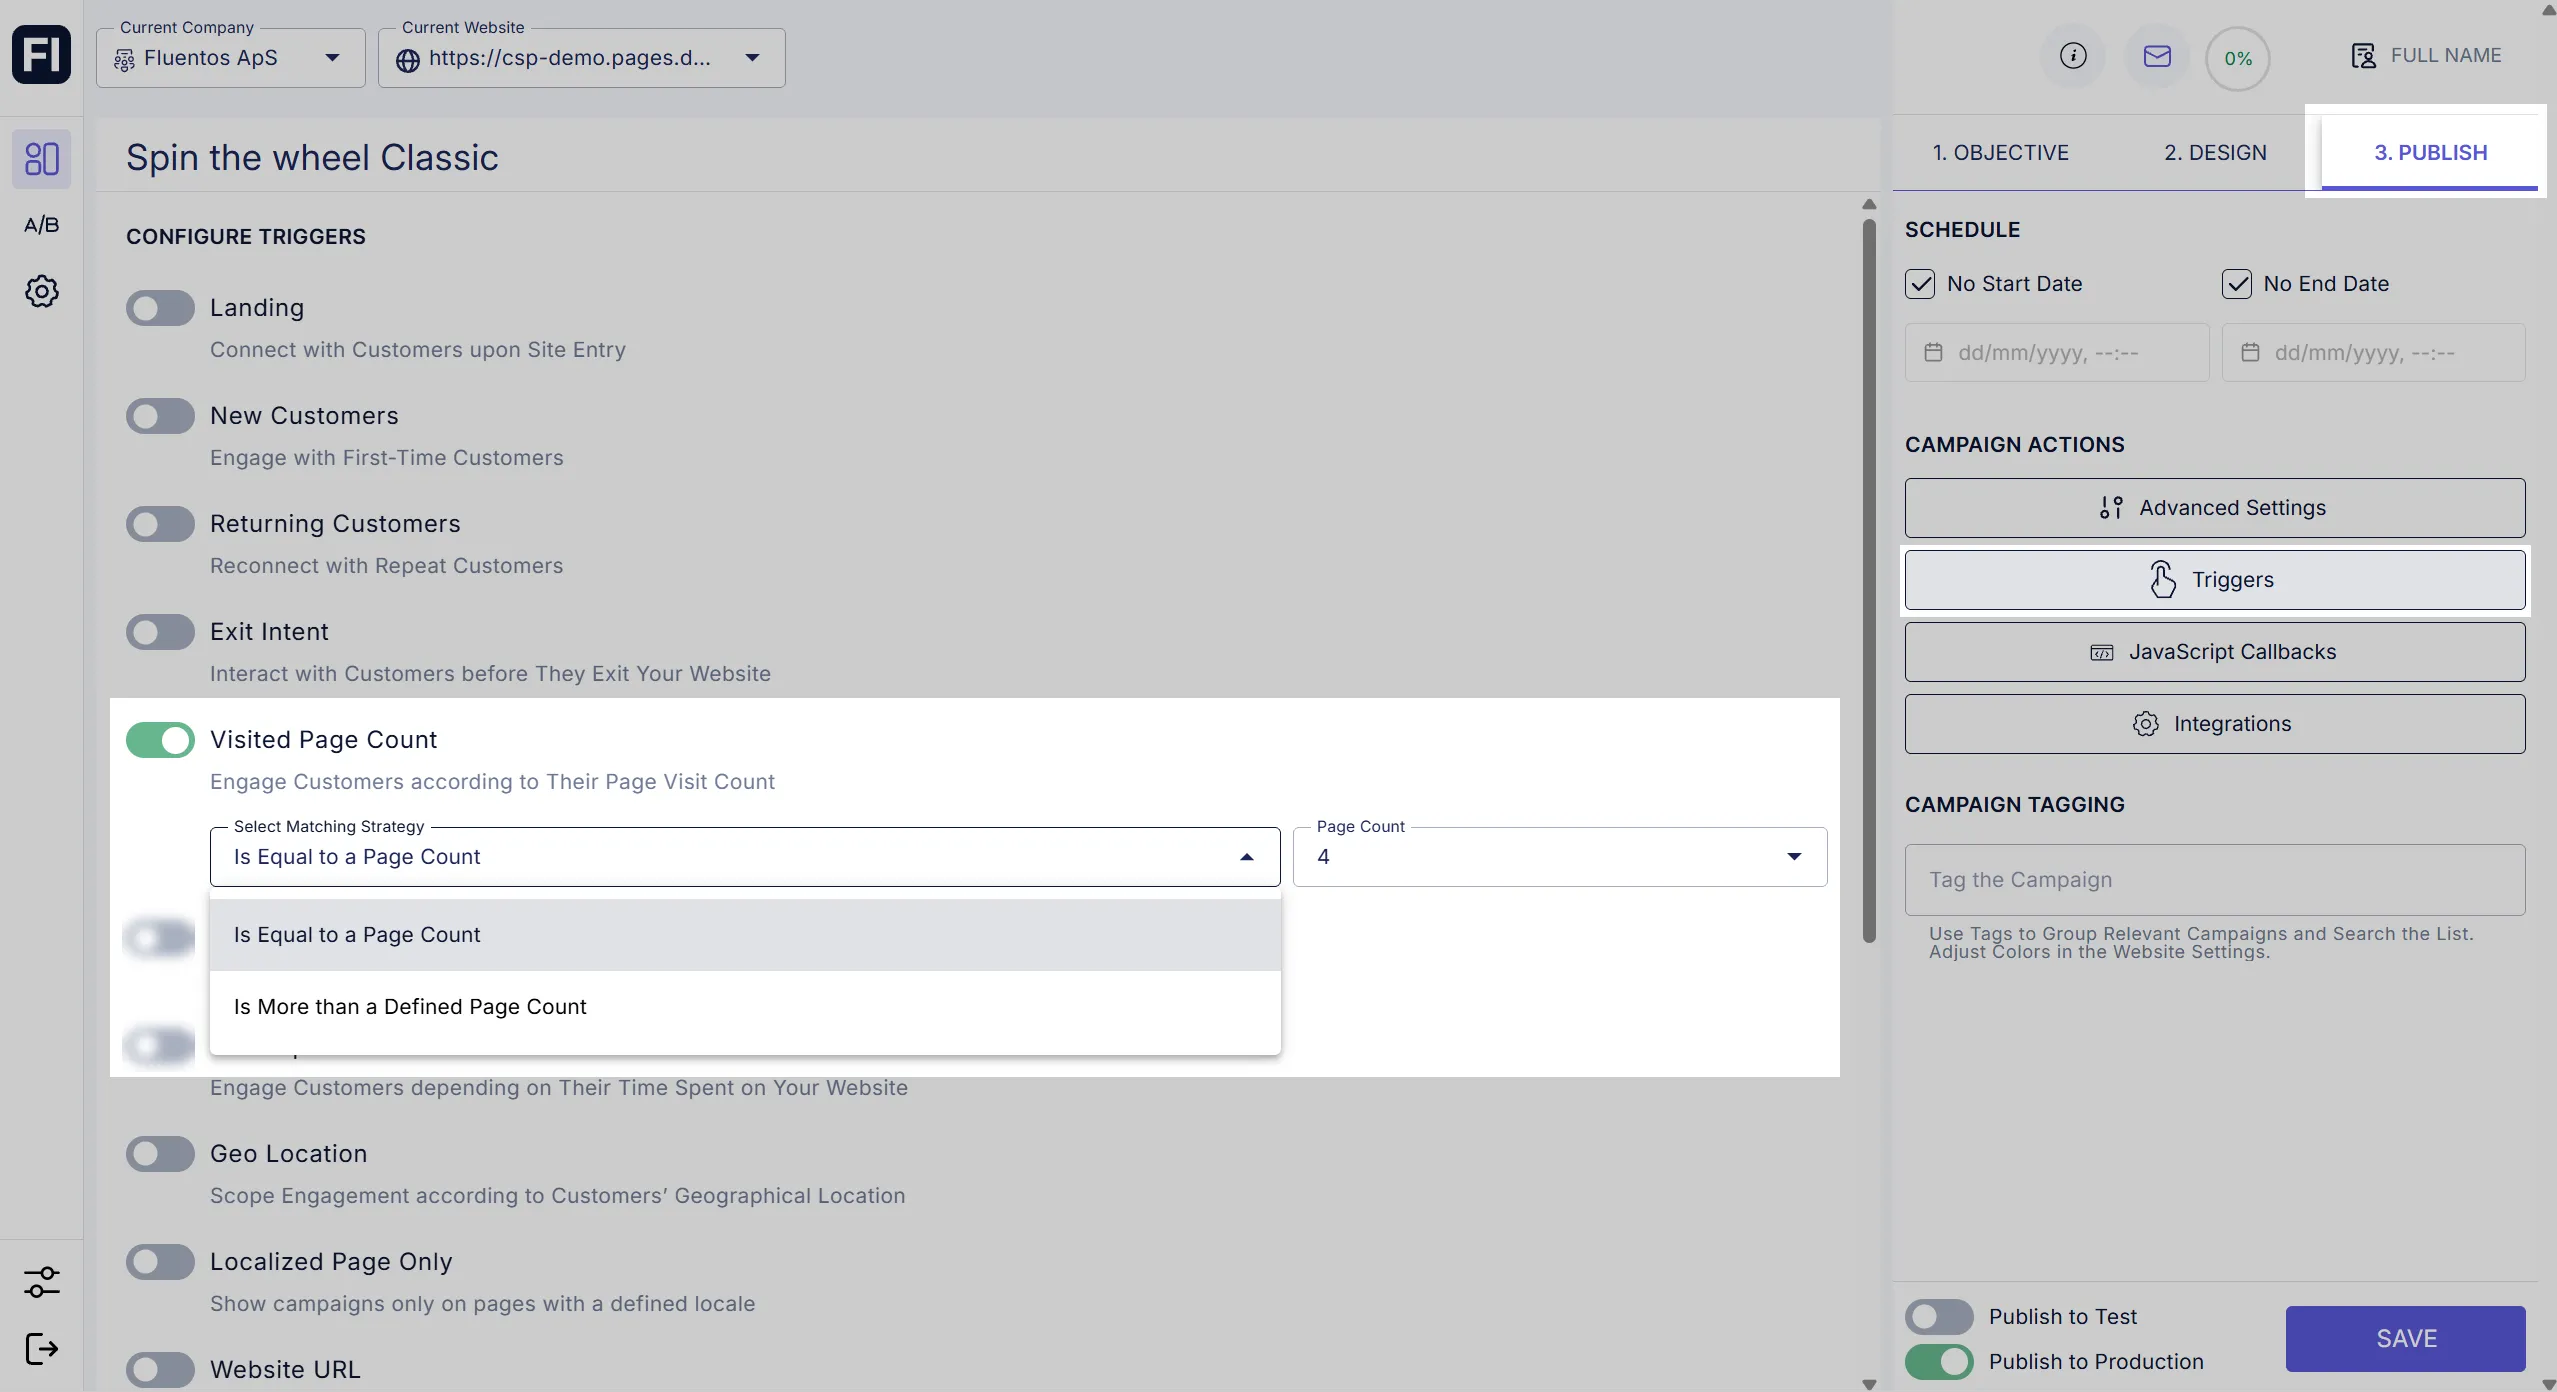
Section titled “6. Scroll Position”Using this trigger, you can configure the campaign behavior more discreetly by allowing the campaign to be displayed only when the user has scrolled through the website by a certain percentage.
7. Time Spent
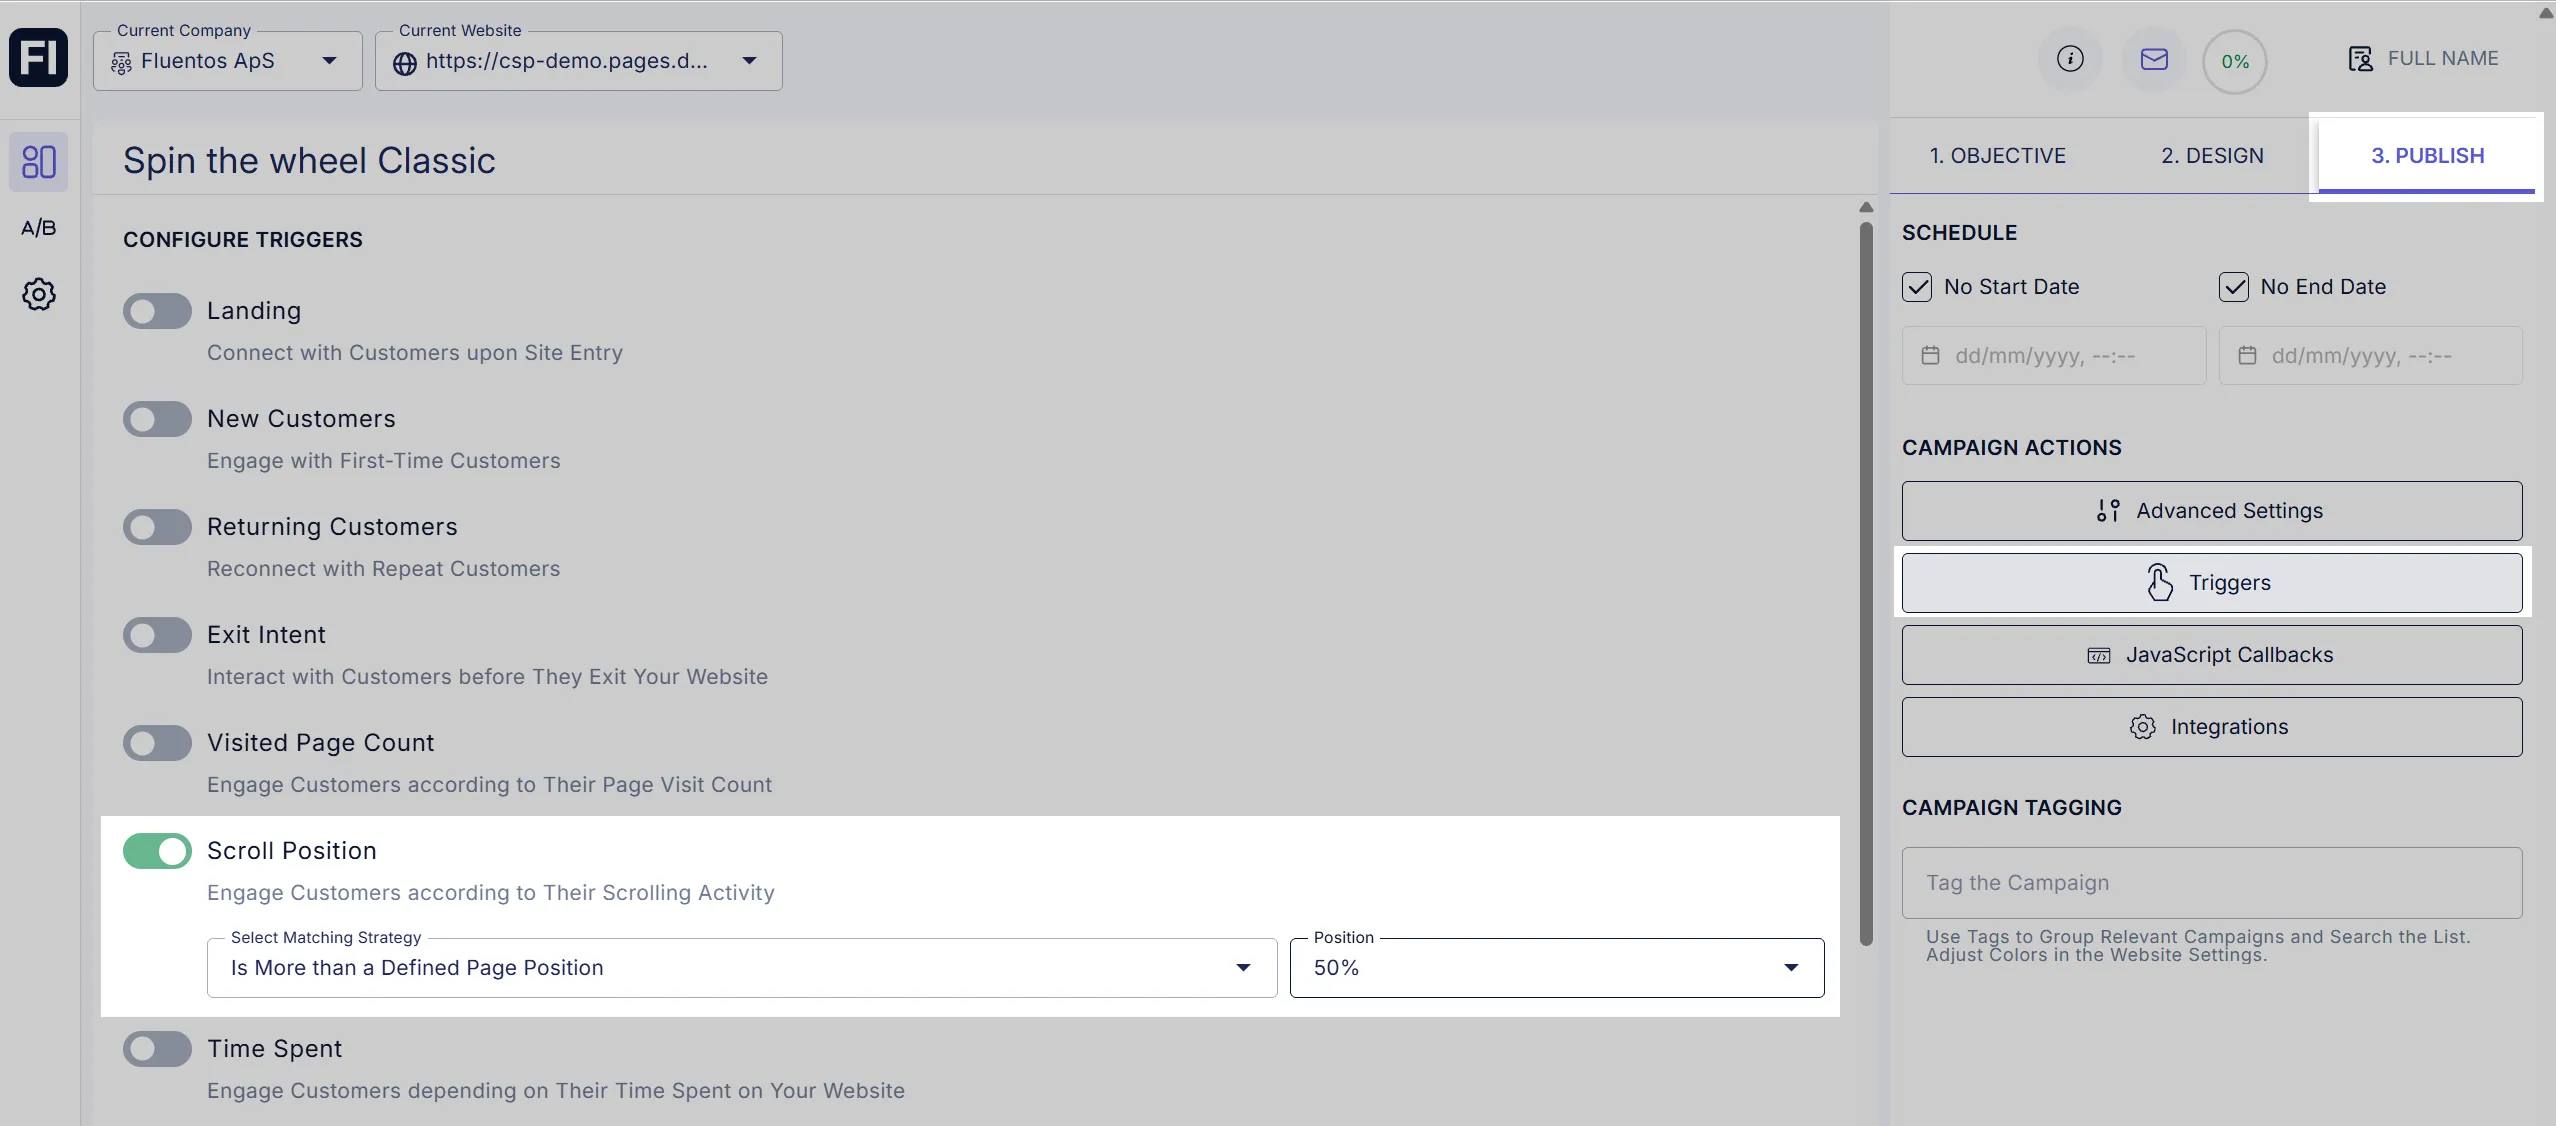
Section titled “7. Time Spent”Using this trigger, you can control the campaign’s display timing. So, instead of launching the campaign right away when the website is loaded, you can time it to appear, let’s say, 10 seconds after the user loads the website or the website page. It can be configured for minutes and seconds in the following two ways.
-
Session Start: Configuring the minutes/seconds for this option will display the campaign on the website when the defined time has passed after starting the website session, i.e., when the user enters the website.
-
Page Start: This option allows you to configure the campaign display behavior at the page level instead of the session level. For example, if you set the time spent to 10 seconds with this option, the campaign will appear exactly after 10 seconds on the website page.
8. Geo Location
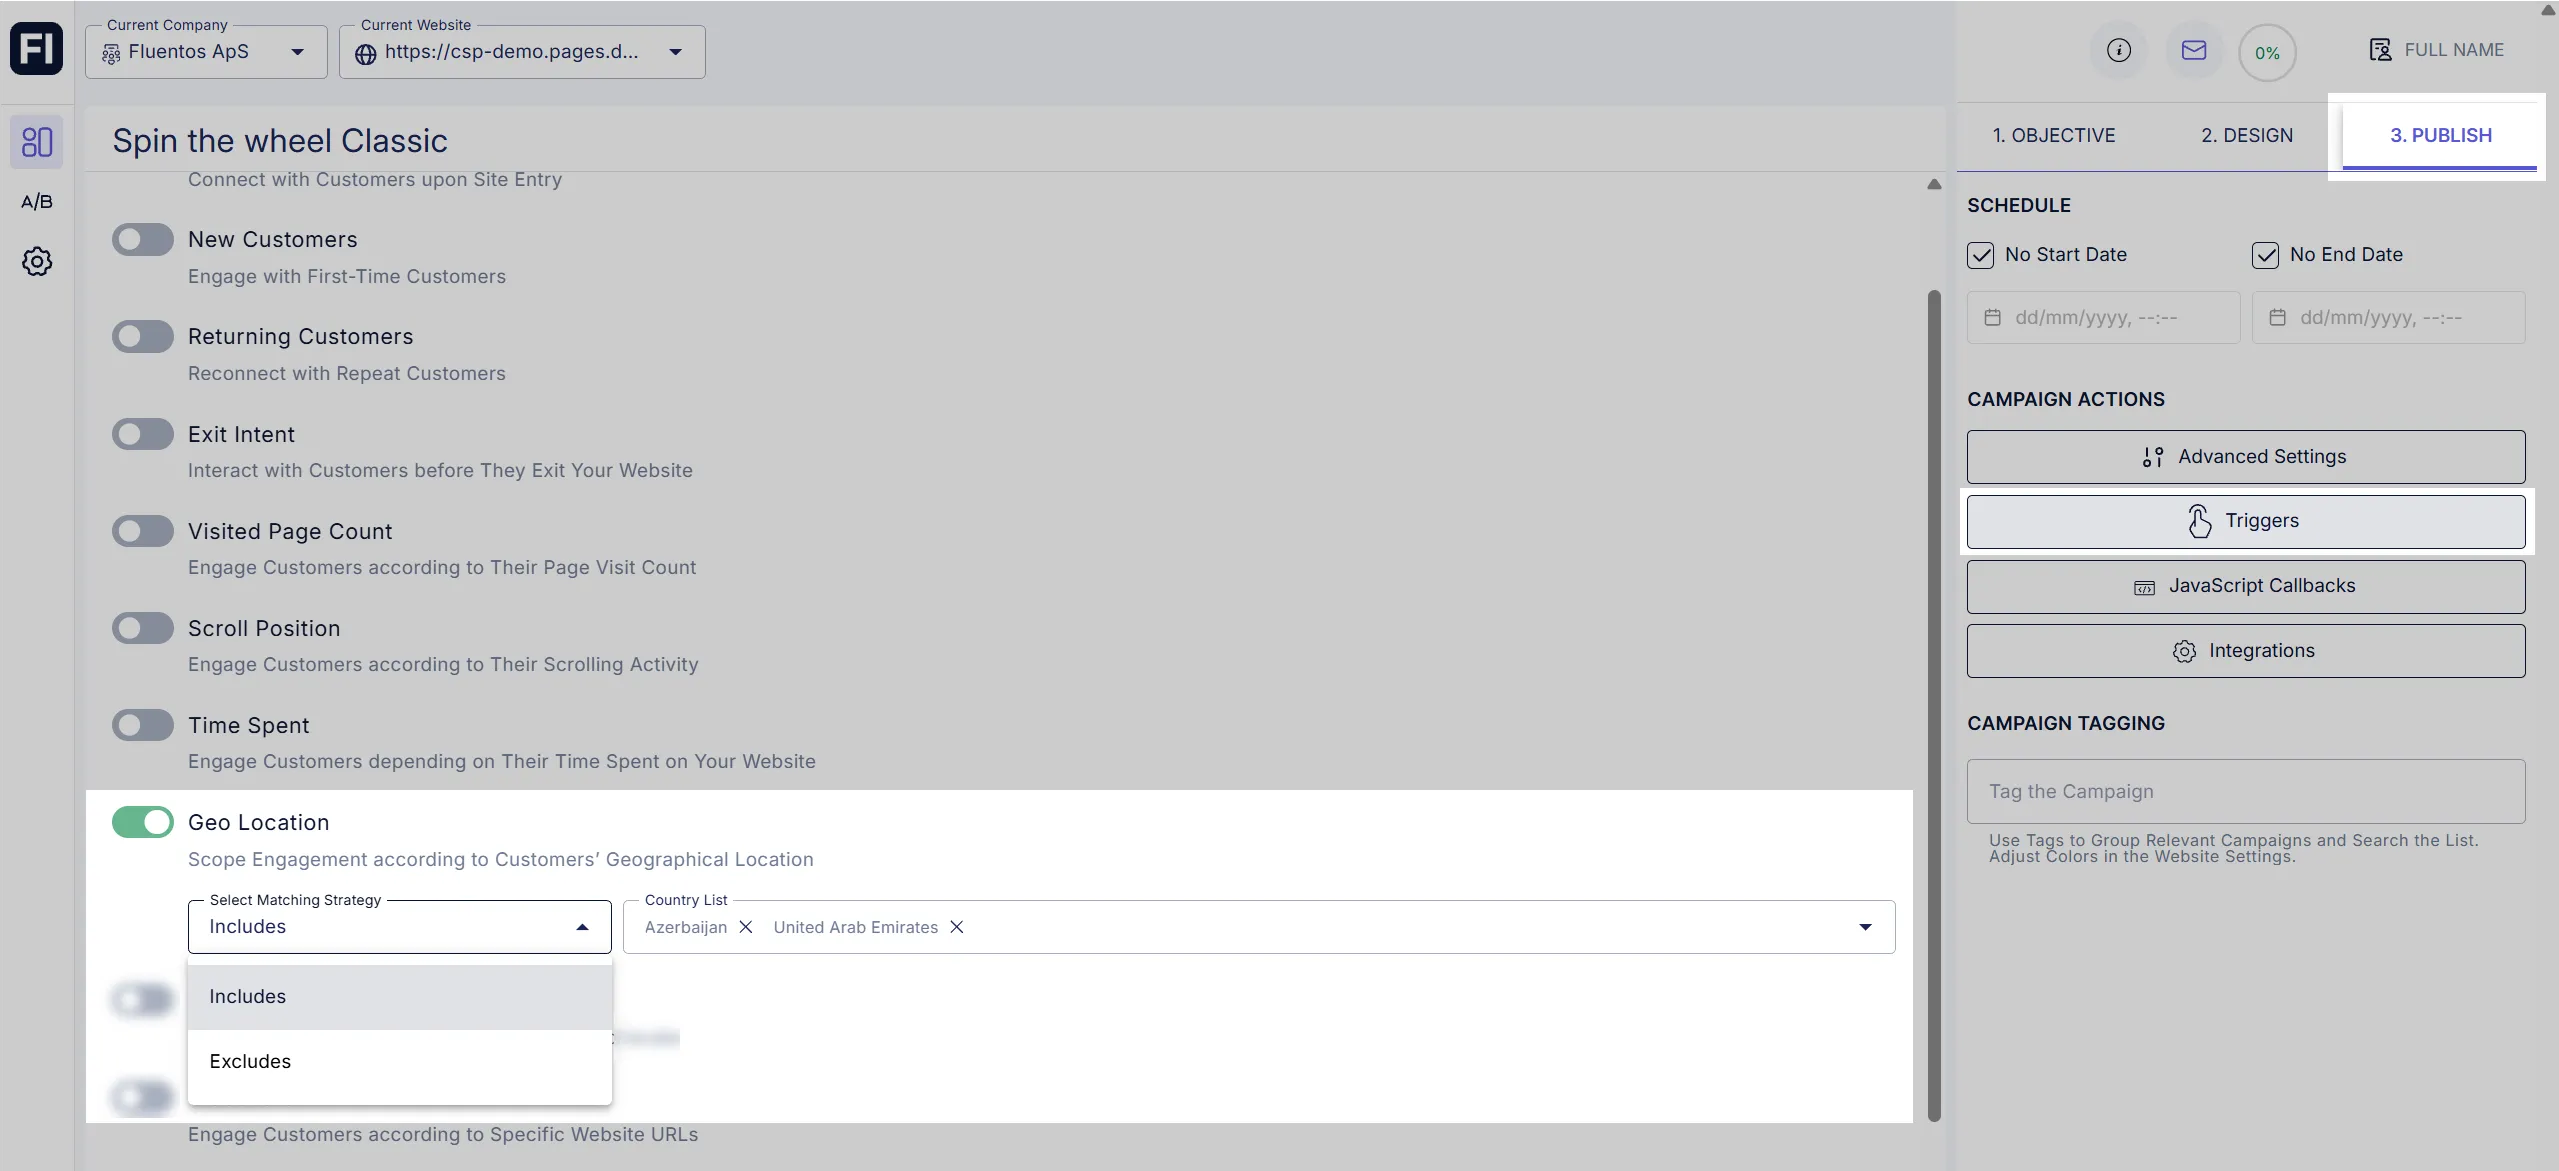
Section titled “8. Geo Location”This trigger allows you to launch your campaign in specific countries using the Include option. Similarly, you can choose to target the whole world with the exception of a few countries that you can keep out using the Exclude option.
9. Localized Page Only
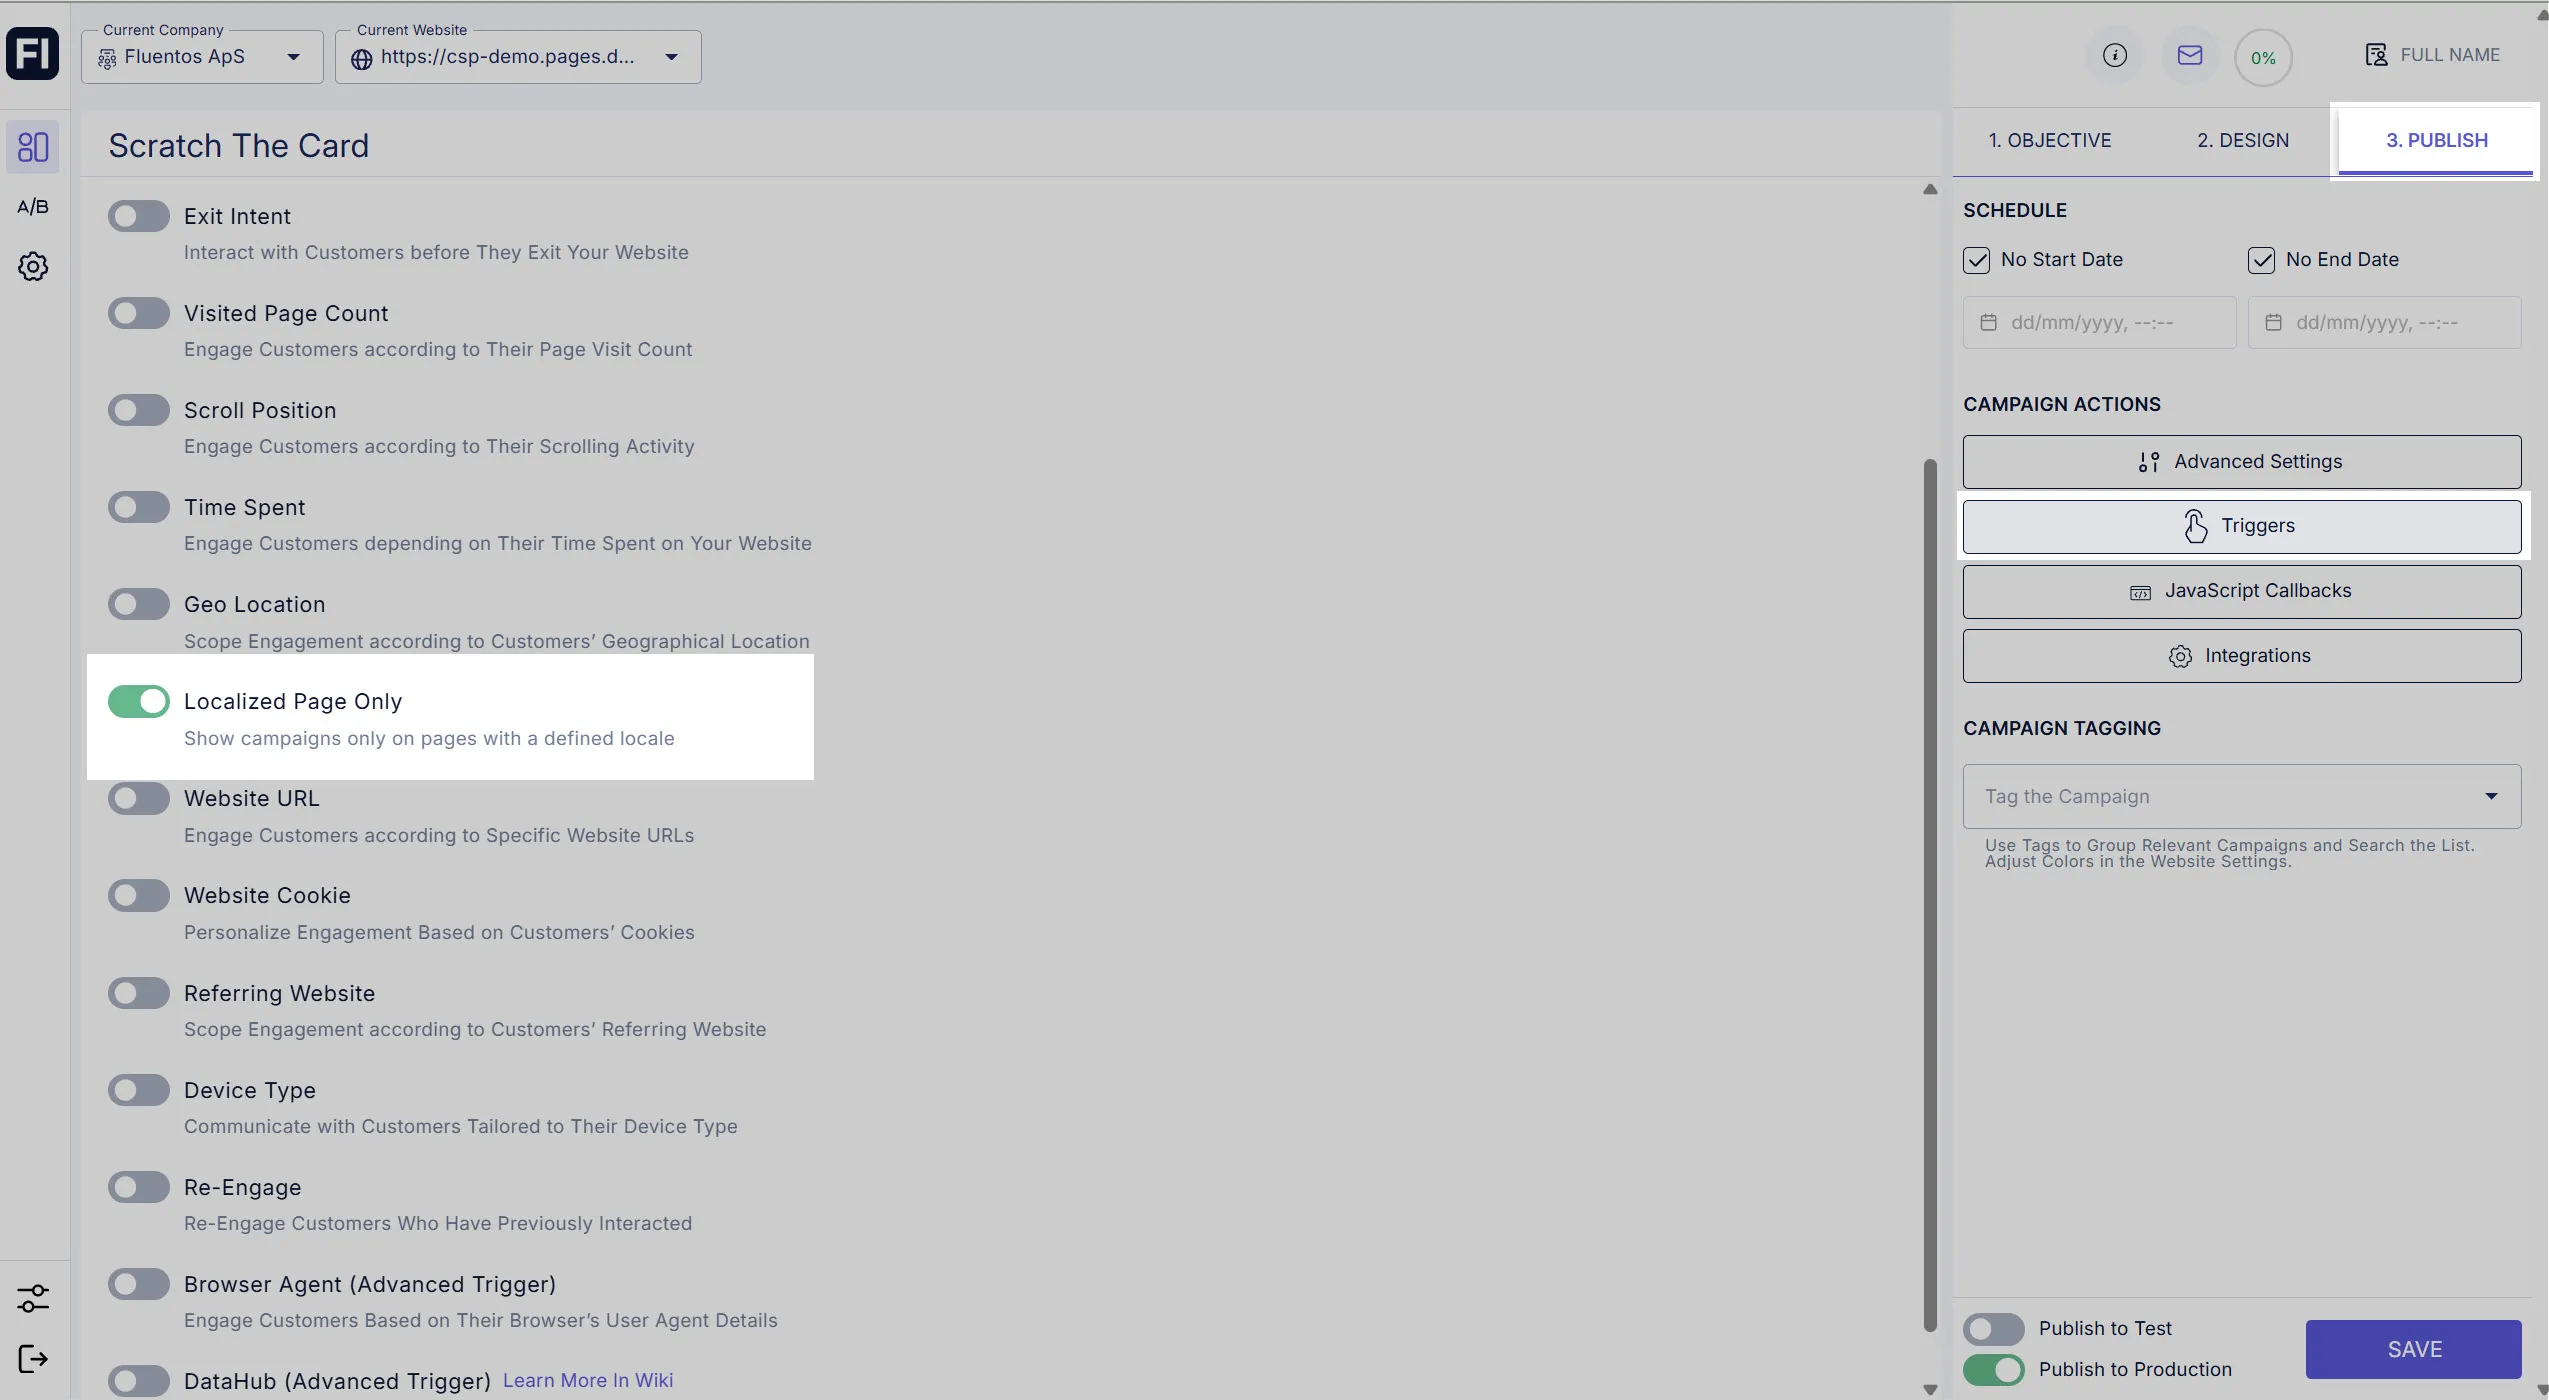
Section titled “9. Localized Page Only”If enabled, the campaign popup will be launched only for the localized pages i.e., it will not be displayed on the non-localized pages of the website.
10. Website URL
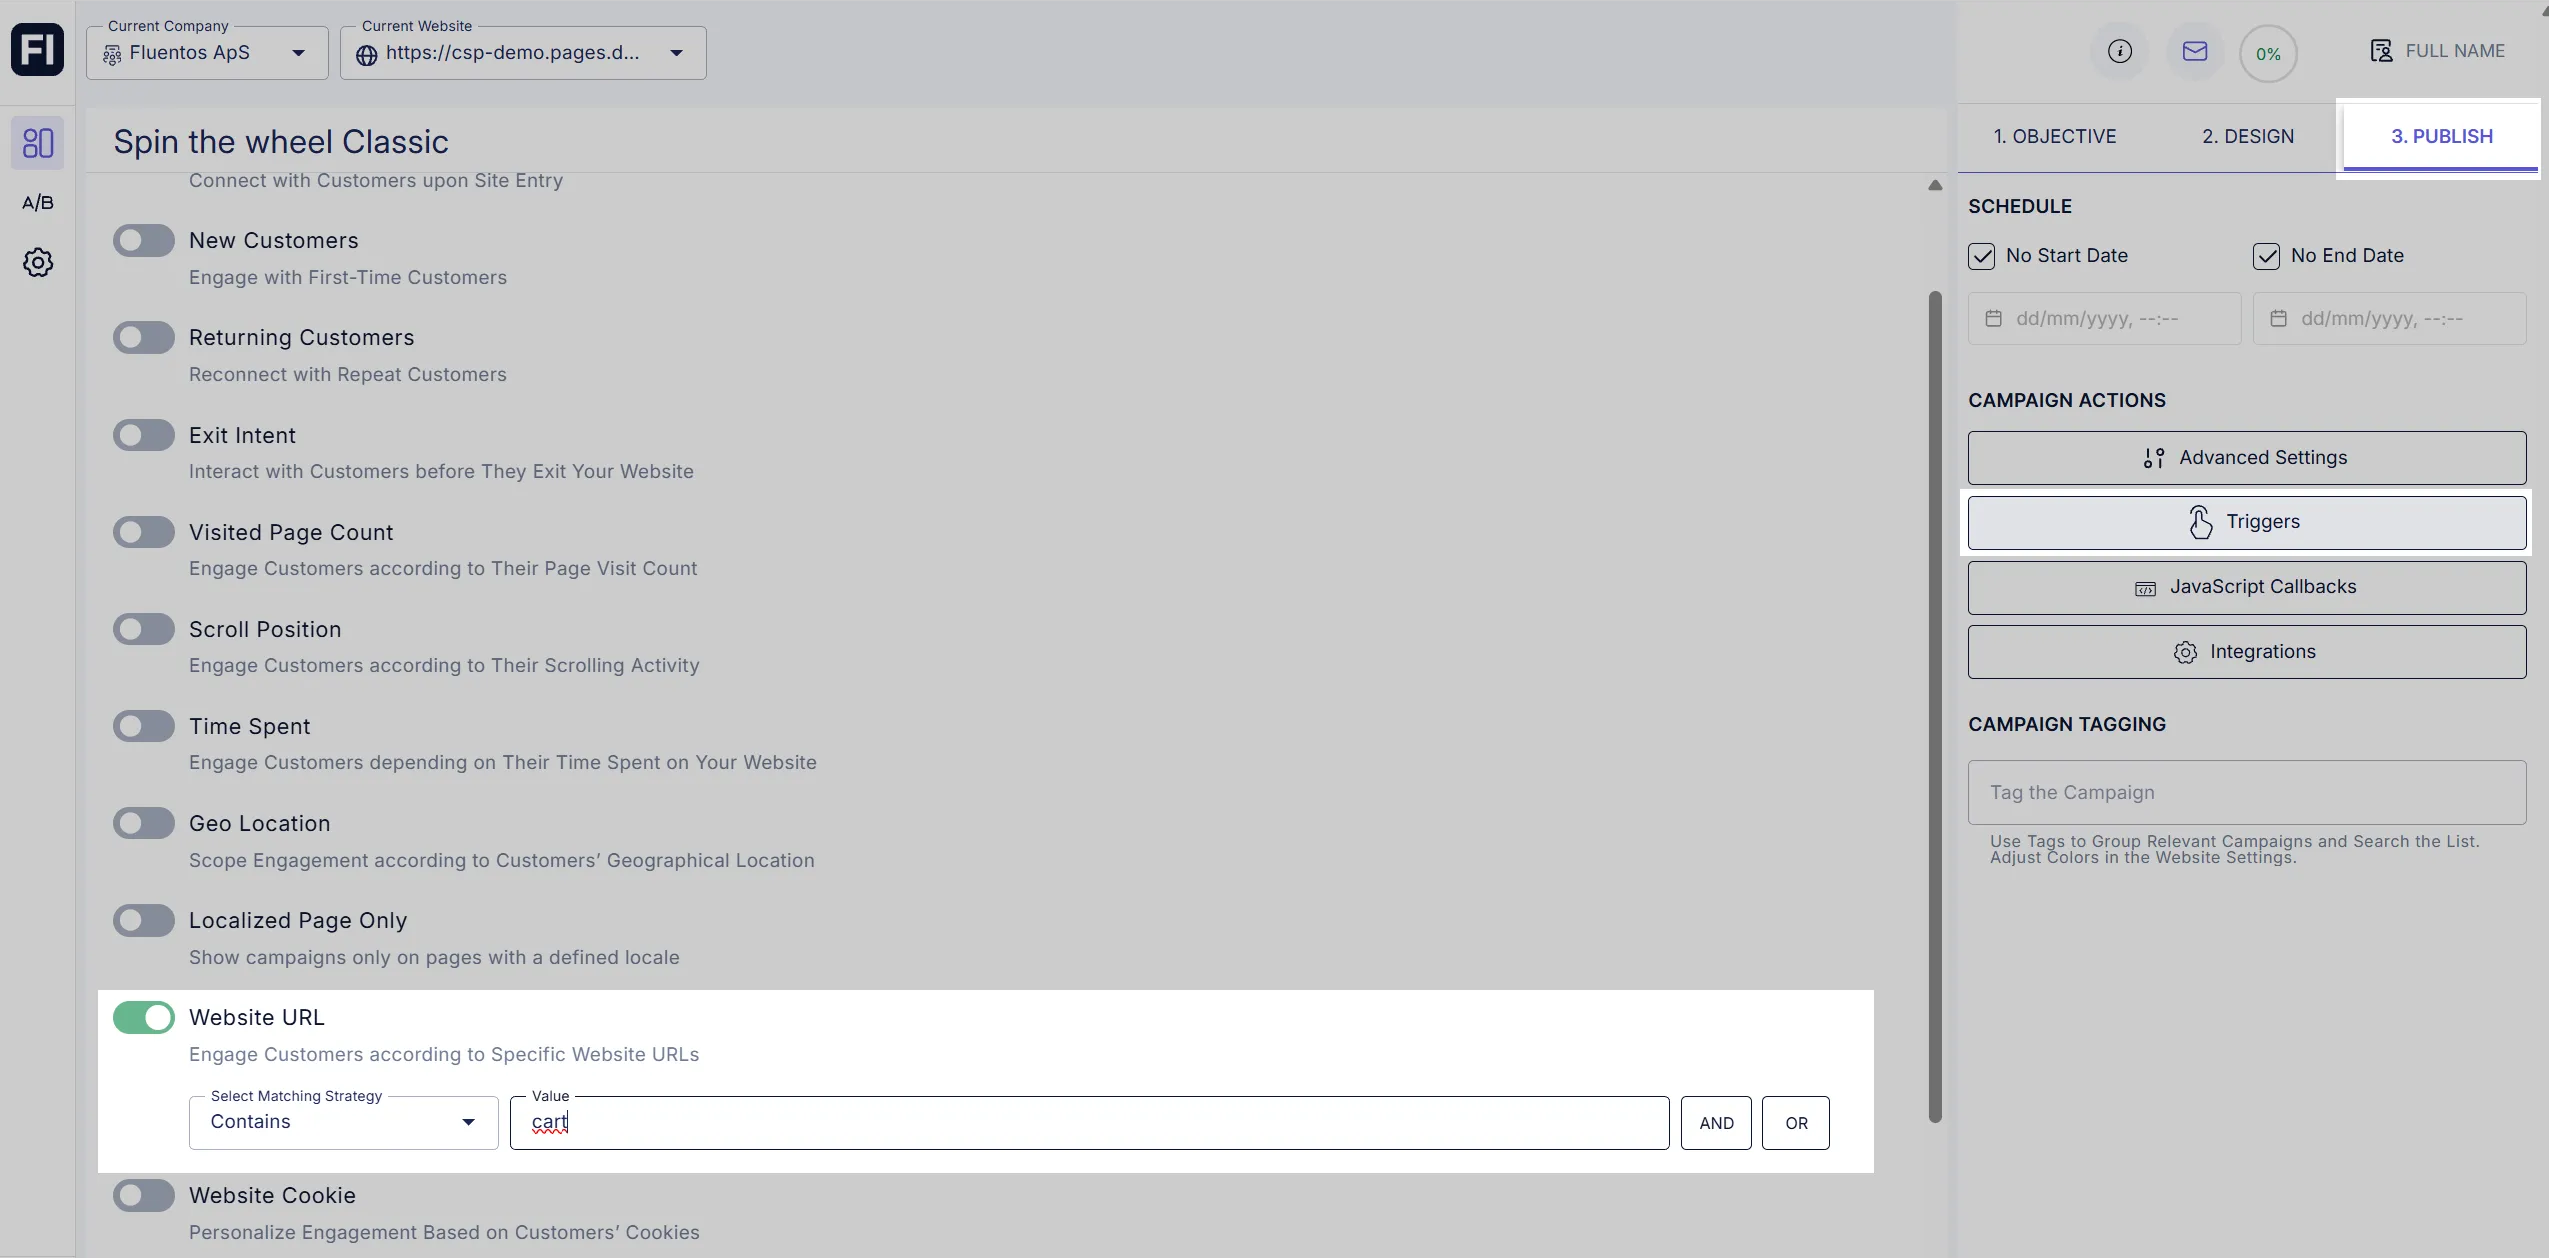
Section titled “10. Website URL”Using this trigger, you can specify the pages of your website on which the campaign should appear. For example, you may want to display a campaign only when the users are on their cart page. You can use the following parameters to specify the URL for which the campaign should run.
- Contains: Use this option to define the word the website URL should contain. For example, “cart”.
- Does Not Contain: Use this option to specify a page that you want to exclude. For example, if you don’t want to display the campaign on the About Us page, you can enter a term that appears in the About Us page URL; let’s say it’s “about-us.”
- Is Exactly: Use this option to specify the exact URL of the web page. When you select this option, enter the part of the URL that appears after the domain. For example, if the page URL is https://demo.fluentos.com/details/6, enter /detail/6 in the Value field.
If you want to run it on multiple web pages, you can use a combination of AND/OR operators.
11. Website Cookie
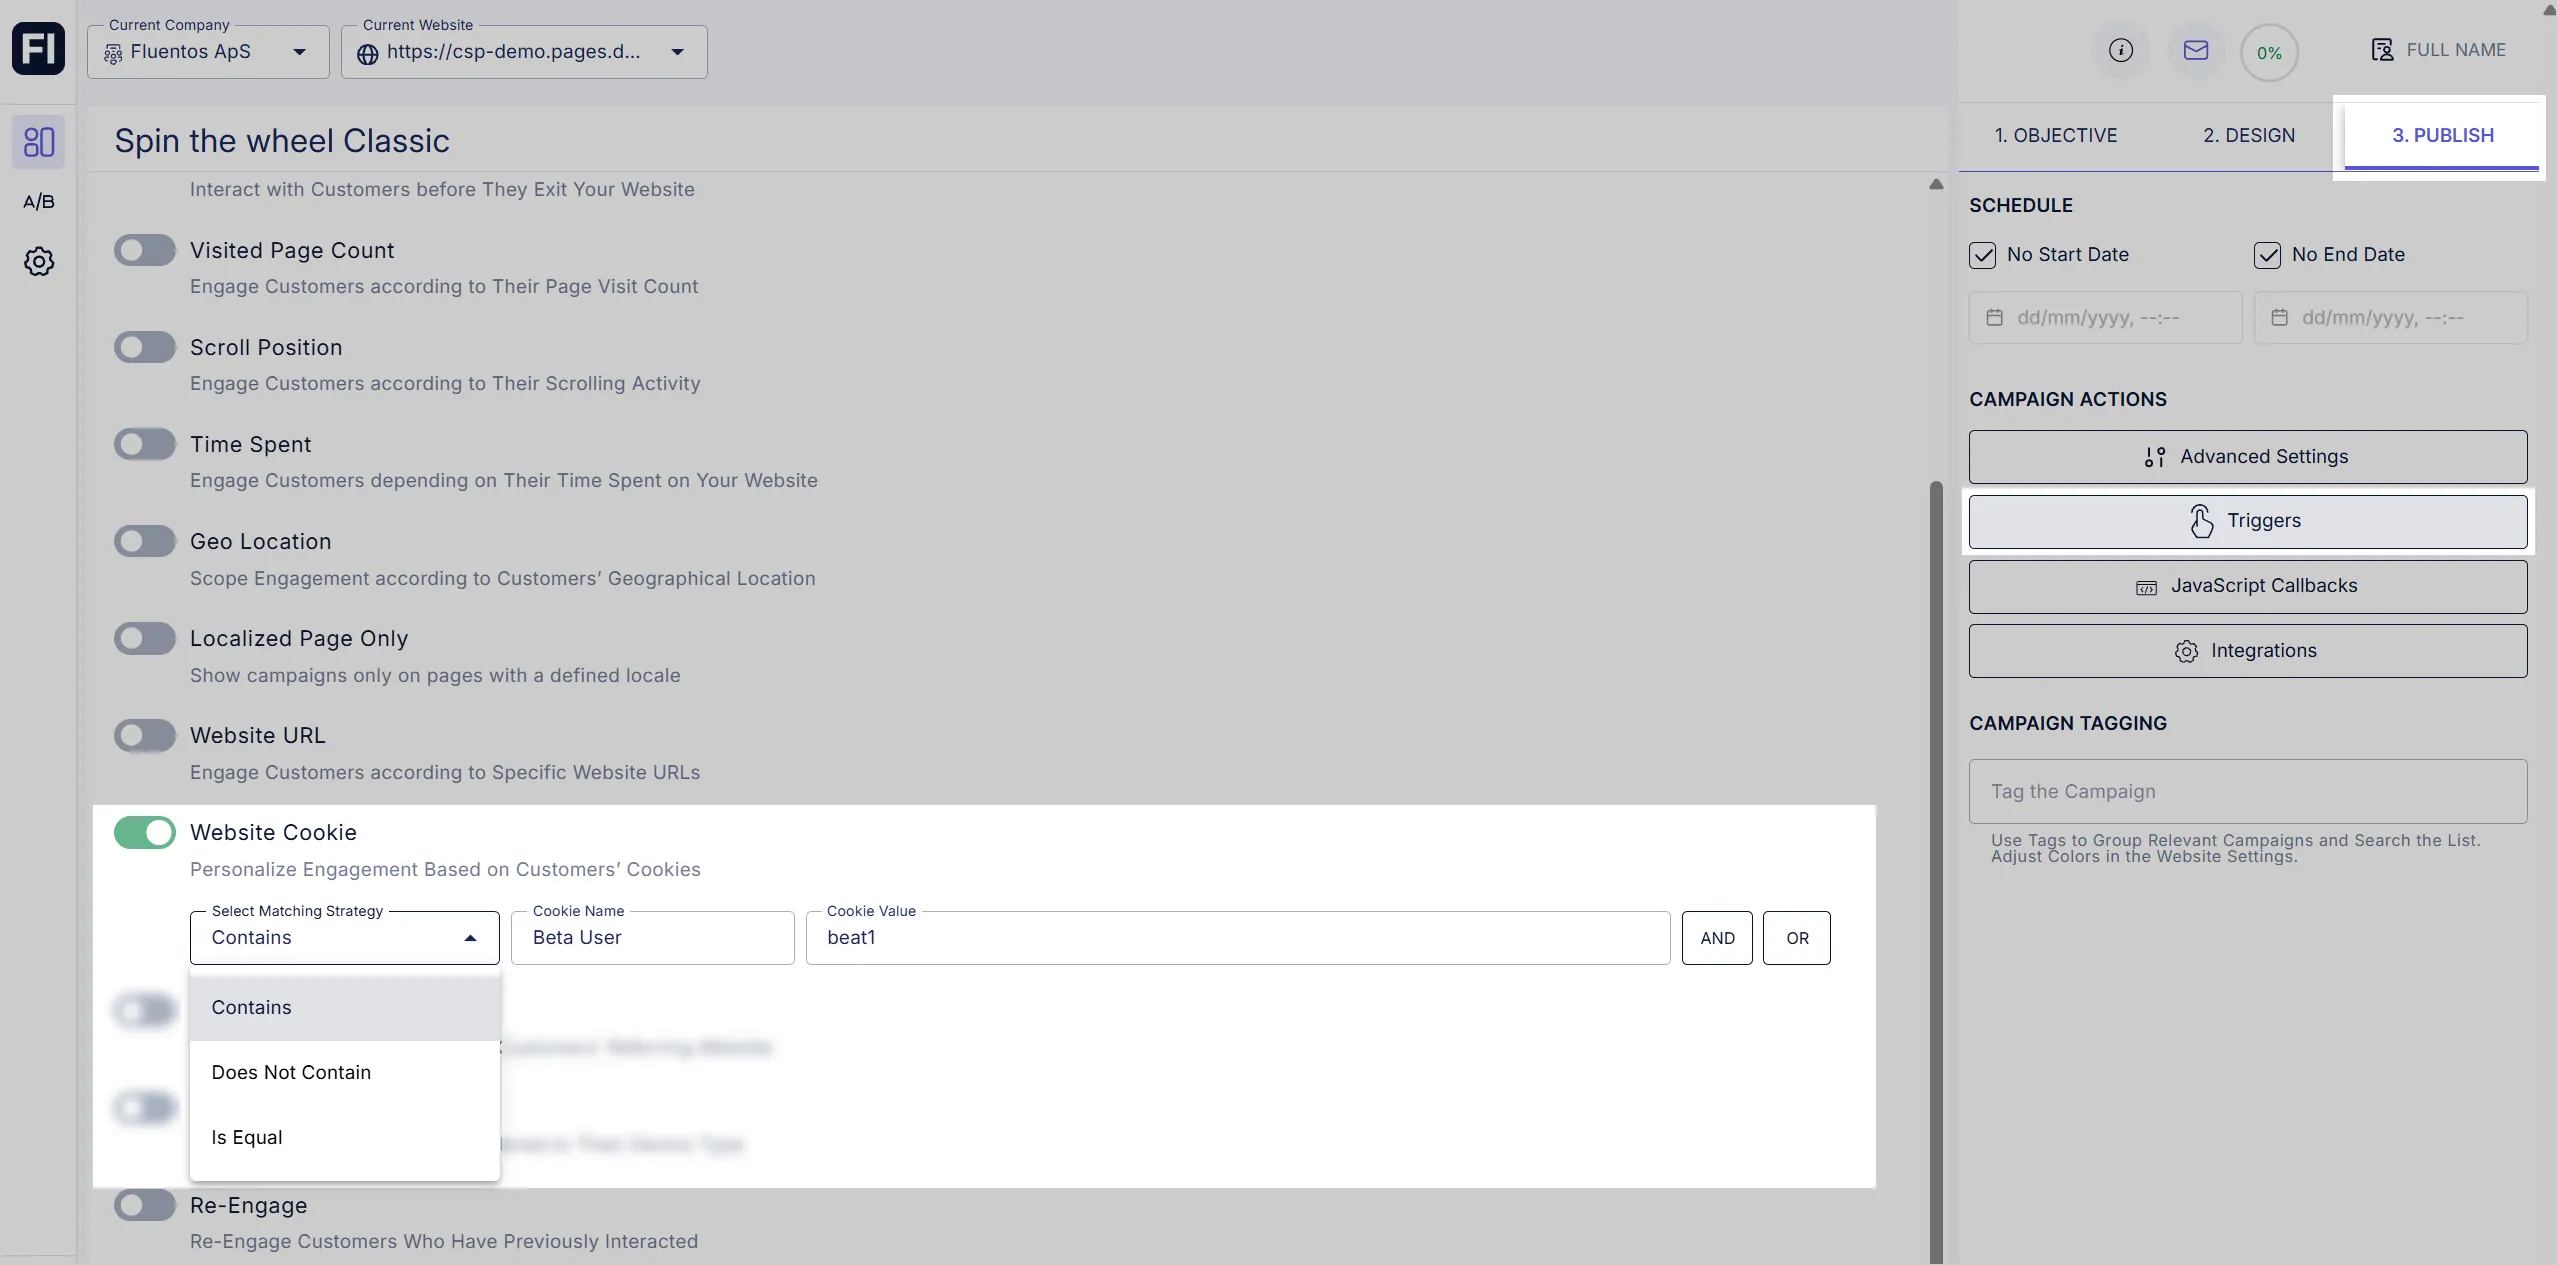
Section titled “11. Website Cookie”Using this trigger, you can run a campaign only for users with specified cookie data stored on their browsers. For example, if you want to display a campaign only for the website’s beta testers, you can define a cookie with a specific value for them.
Using the AND/OR operators, you can combine different conditions for the website cookie to be evaluated for running the campaign.
The following matching strategies are available:
- Contains: The cookie value contains the specified text.
- Does Not Contain: The cookie value does not contain the specified text.
- Is Exactly: The cookie value exactly matches the specified text.
- Has any value: The cookie exists on the browser, regardless of its value.
- Is not set: The cookie does not exist on the browser.
12. Website Global Variable
Section titled “12. Website Global Variable”This trigger lets you show or hide campaigns based on JavaScript variables defined on your website. For example, you can target users based on a window.isLoggedIn or window.customerTier variable set by your site’s code.
Using the AND/OR operators, you can combine multiple variable conditions.
The following matching strategies are available:
- Contains: The variable’s value contains the specified text.
- Does Not Contain: The variable’s value does not contain the specified text.
- Is Exactly: The variable’s value exactly matches the specified text.
- Has any value: The variable is defined on the page, regardless of its value.
- Is not set: The variable is not defined on the page.
13. Referring Website
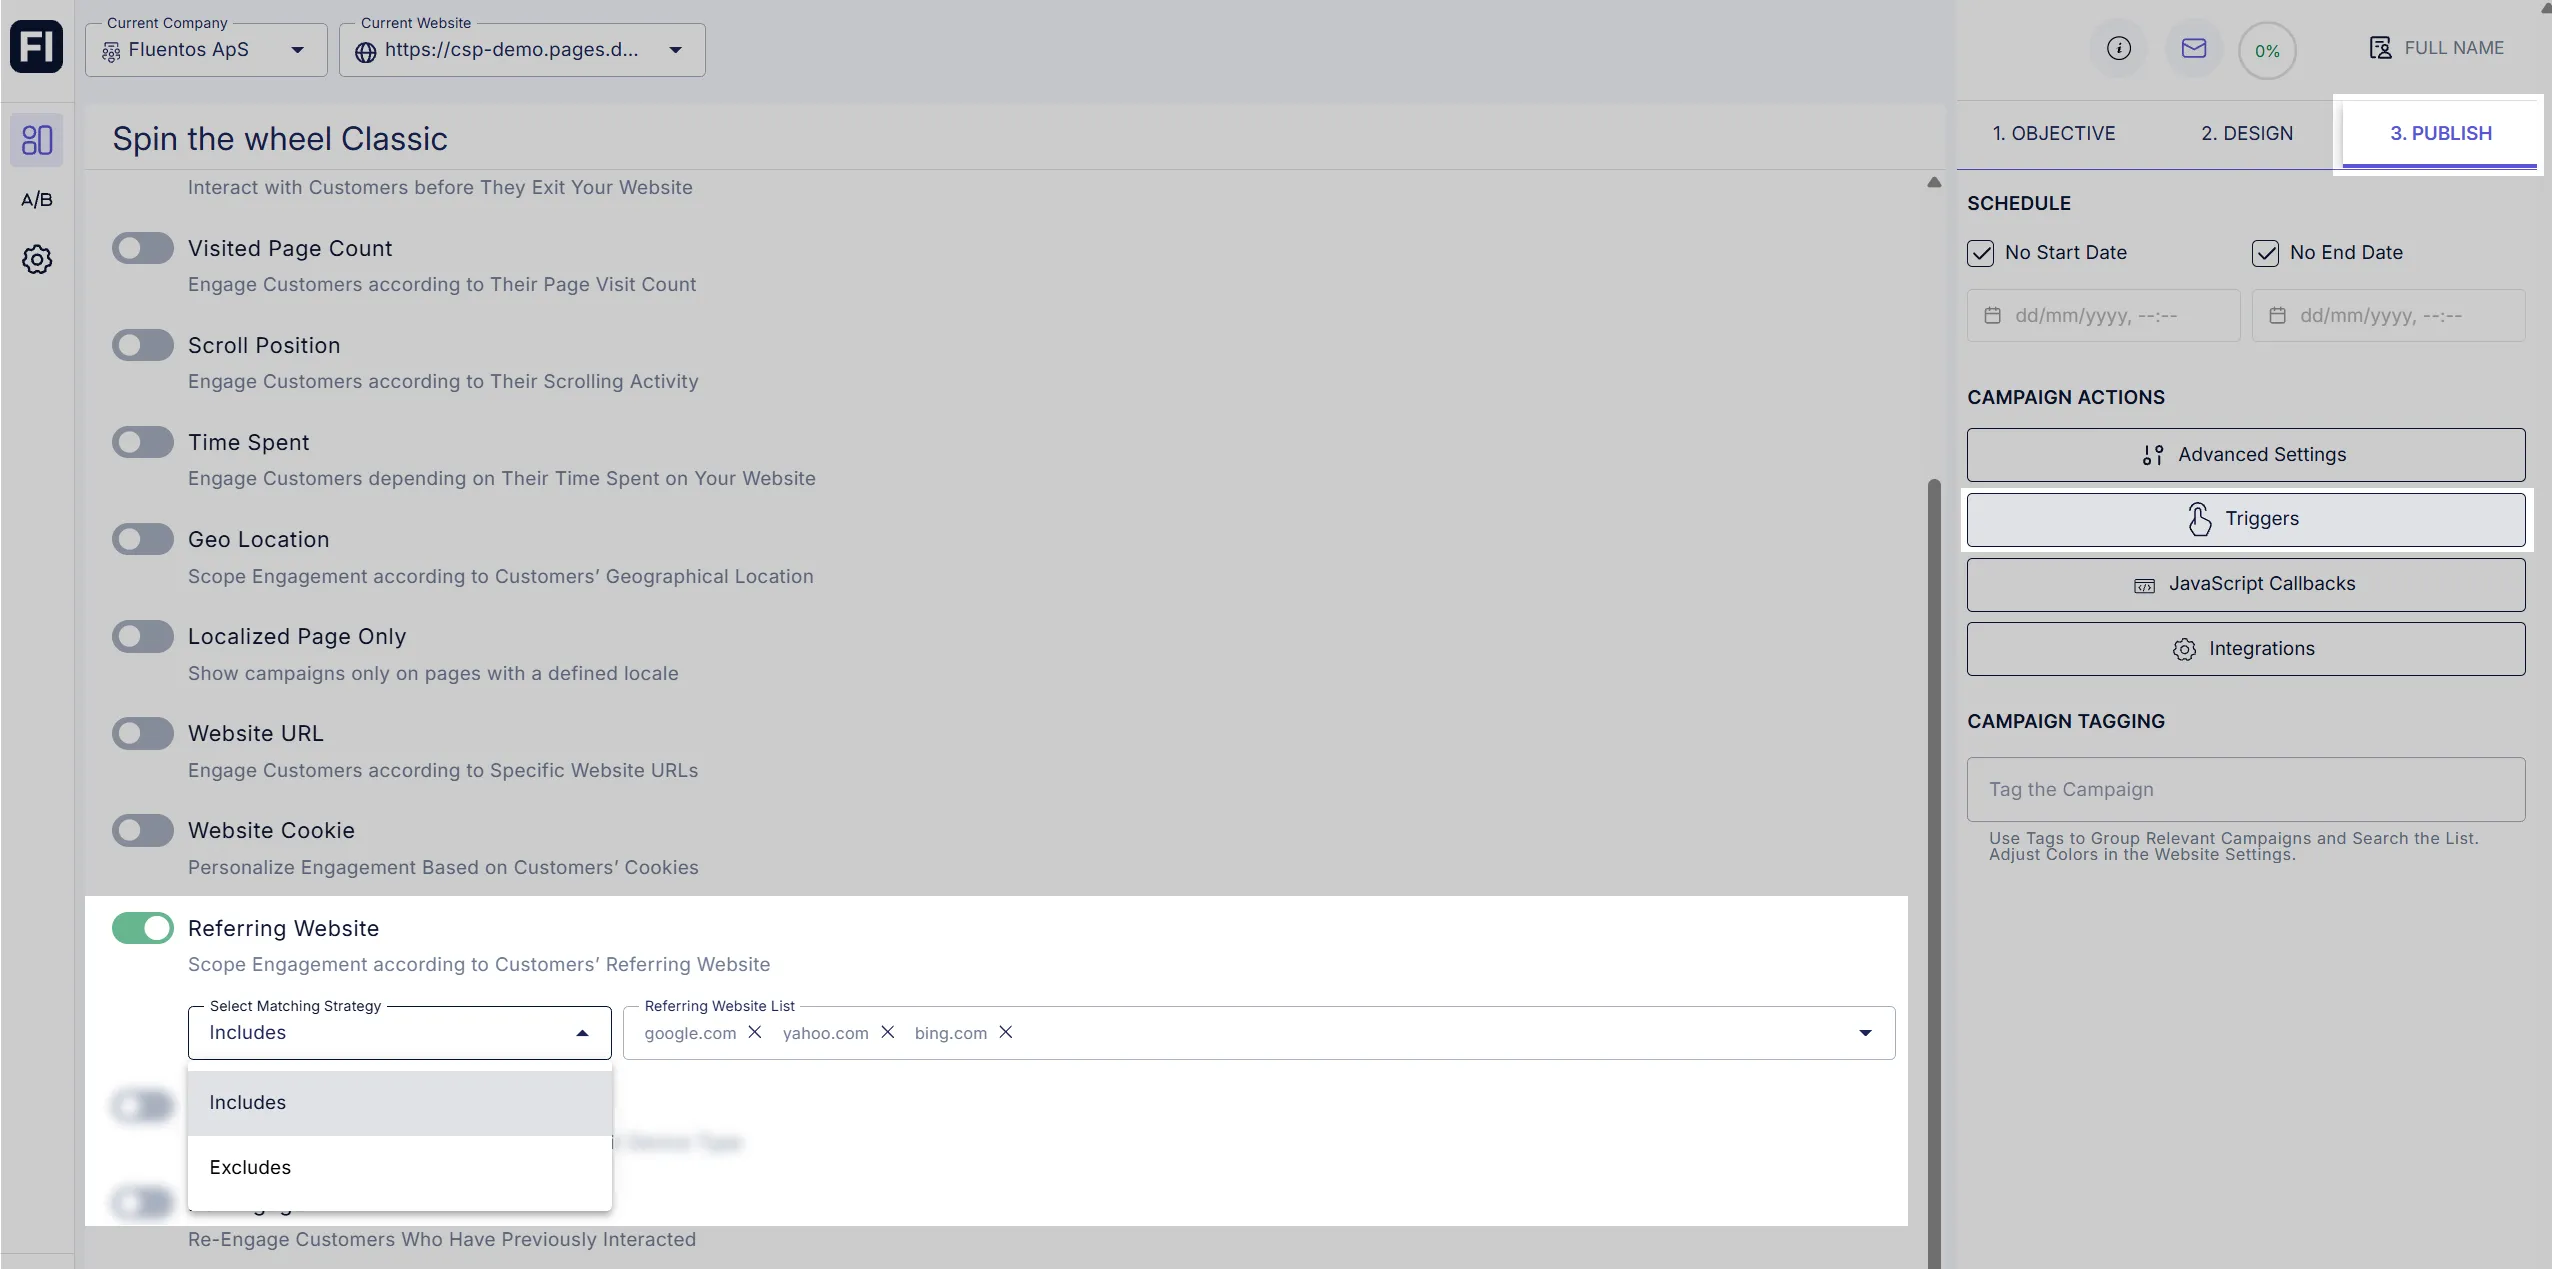
Section titled “13. Referring Website”Using the Include option, you can run your campaign only for users landing on your website through a specific website, such as those coming from Google, Yahoo, and Bing. You can select multiple referring websites from the Referring Website List.
Or, if you want to exclude the users being referred through the specific website(s), you can use the Exclude option and select the unwanted websites from the list.
14. Device Type
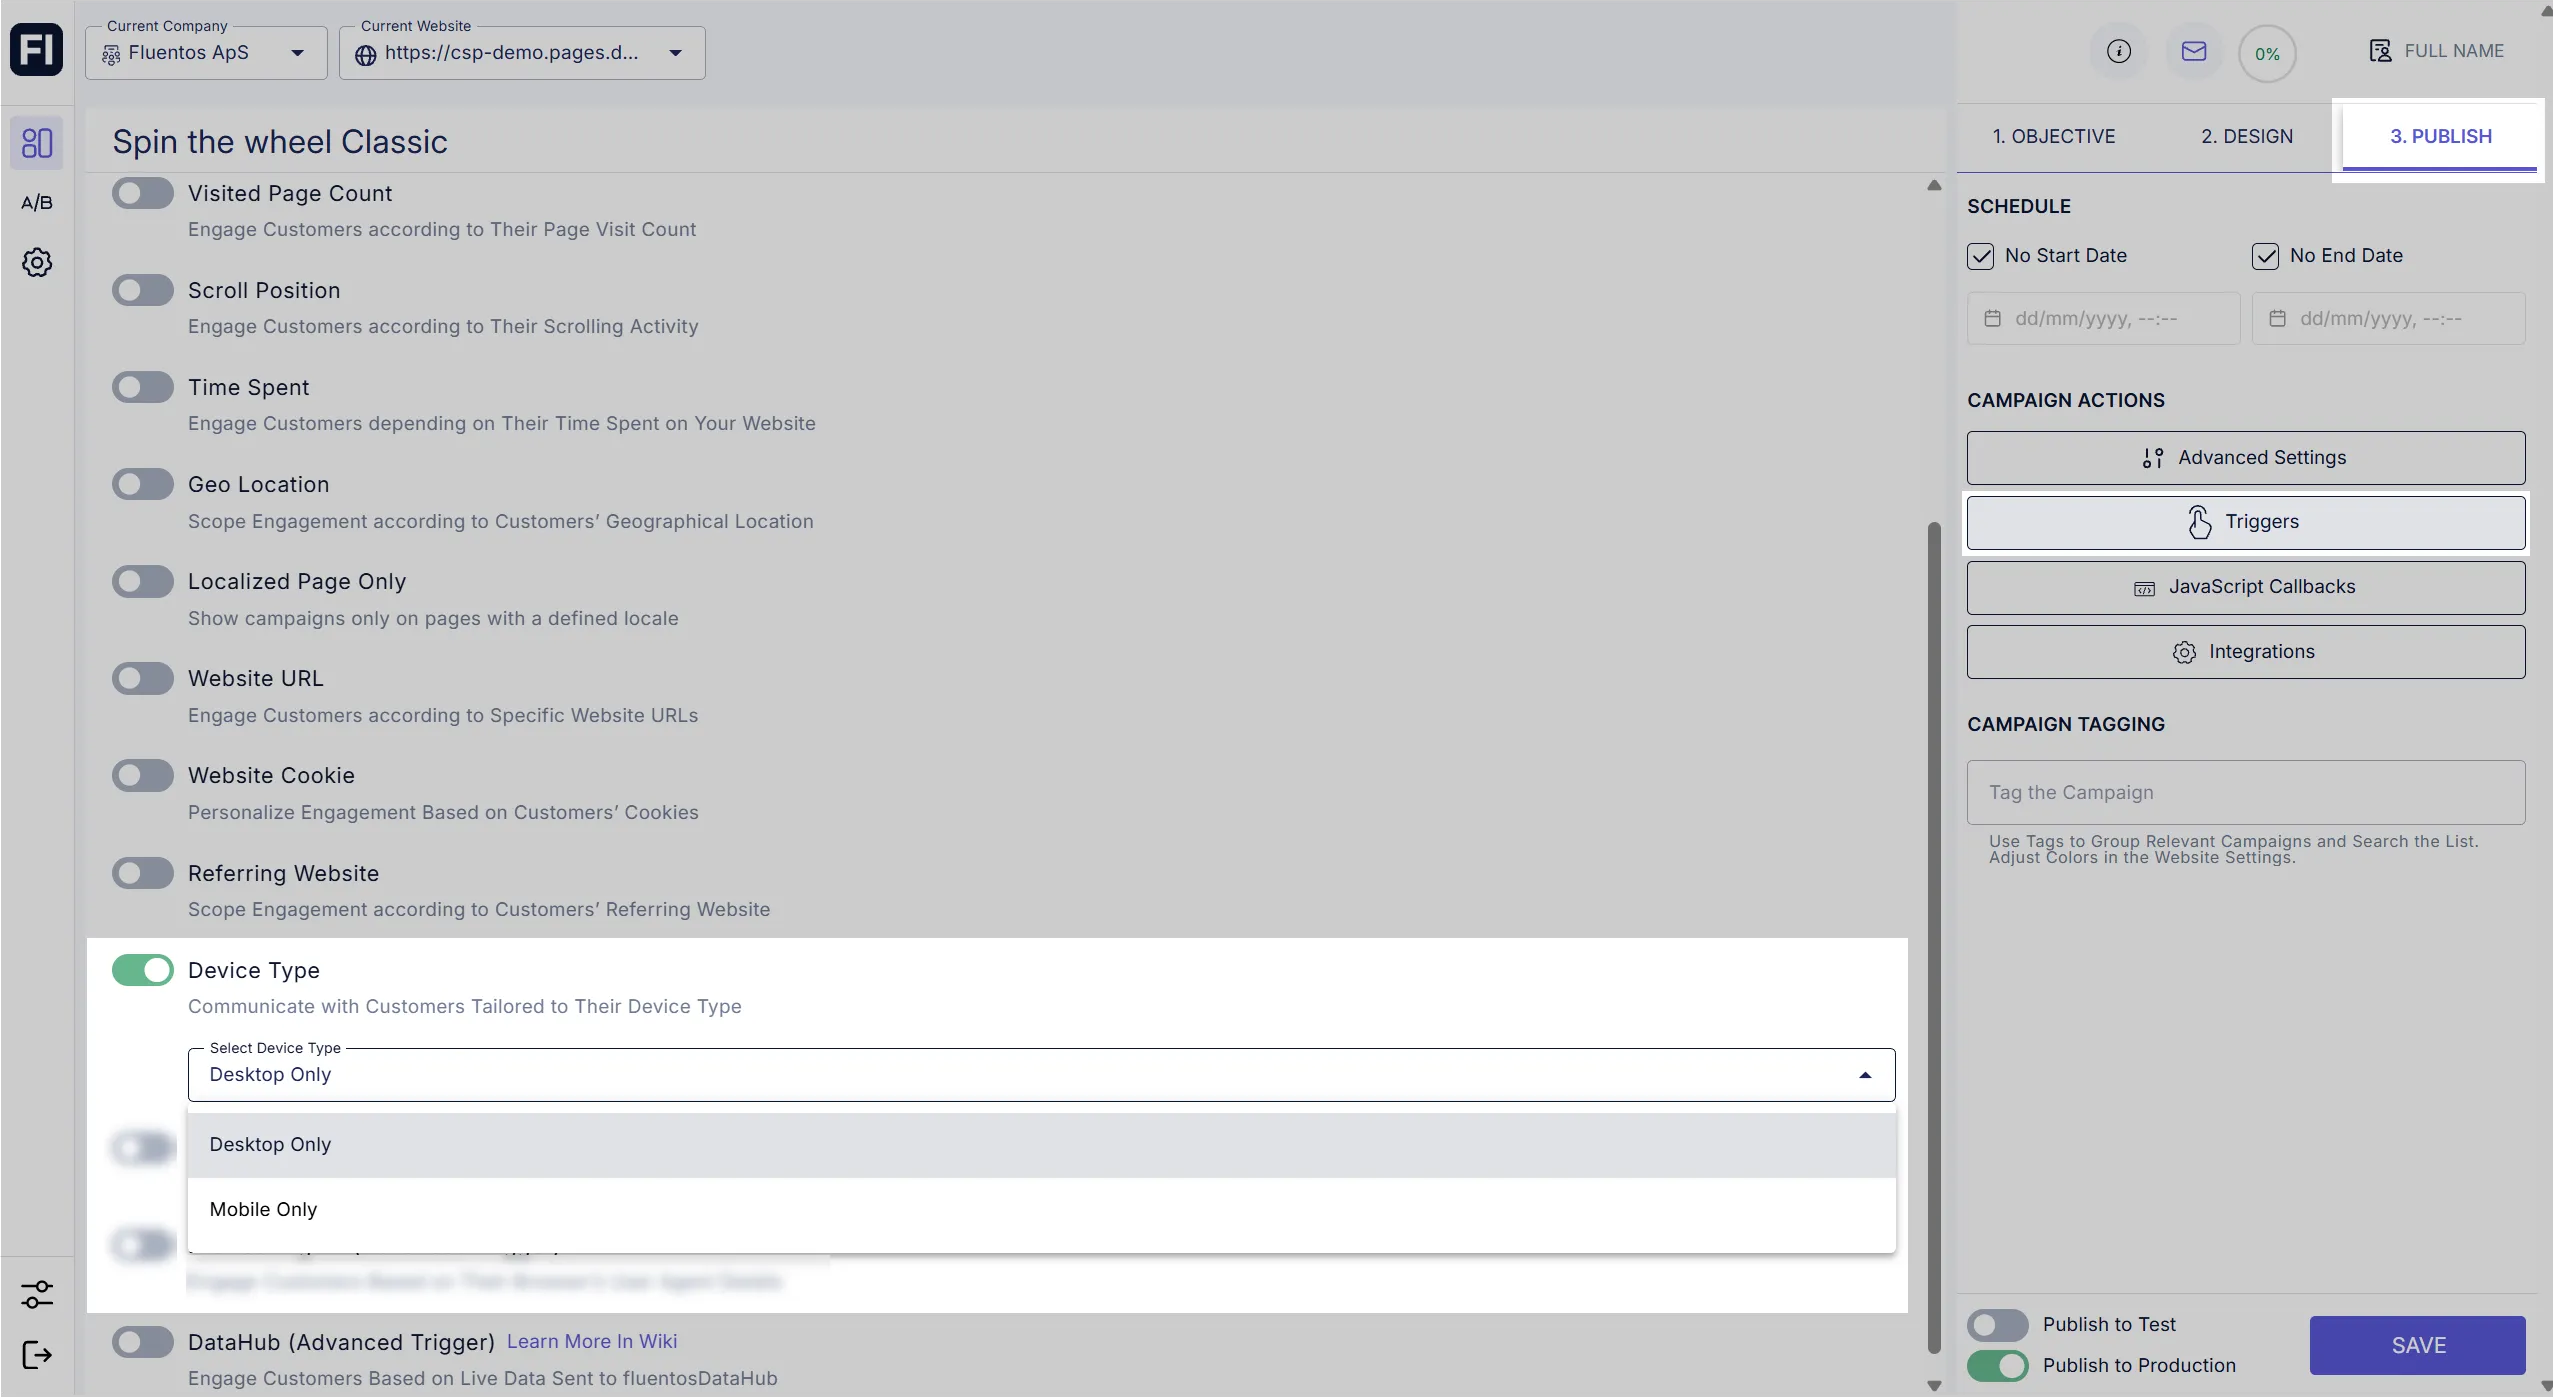
Section titled “14. Device Type”There may be campaigns that you want to run only for desktop or mobile users. You can use this trigger to select the desired device type based on marketing/business needs. Available options to choose from are:
- Desktop Only
- Mobile Only
If this trigger is disabled, the campaign is launched for both types of devices by default.
15. HTML Element
Section titled “15. HTML Element”This trigger lets you show or hide campaigns based on whether a specific HTML element is present on the page. Enter a CSS selector (such as a class name or ID) to target.
The following matching strategies are available:
- Element Exists: The campaign is shown when the specified element is found on the page.
- Element Does Not Exist: The campaign is shown when the specified element is not found on the page.
16. Browser Agent
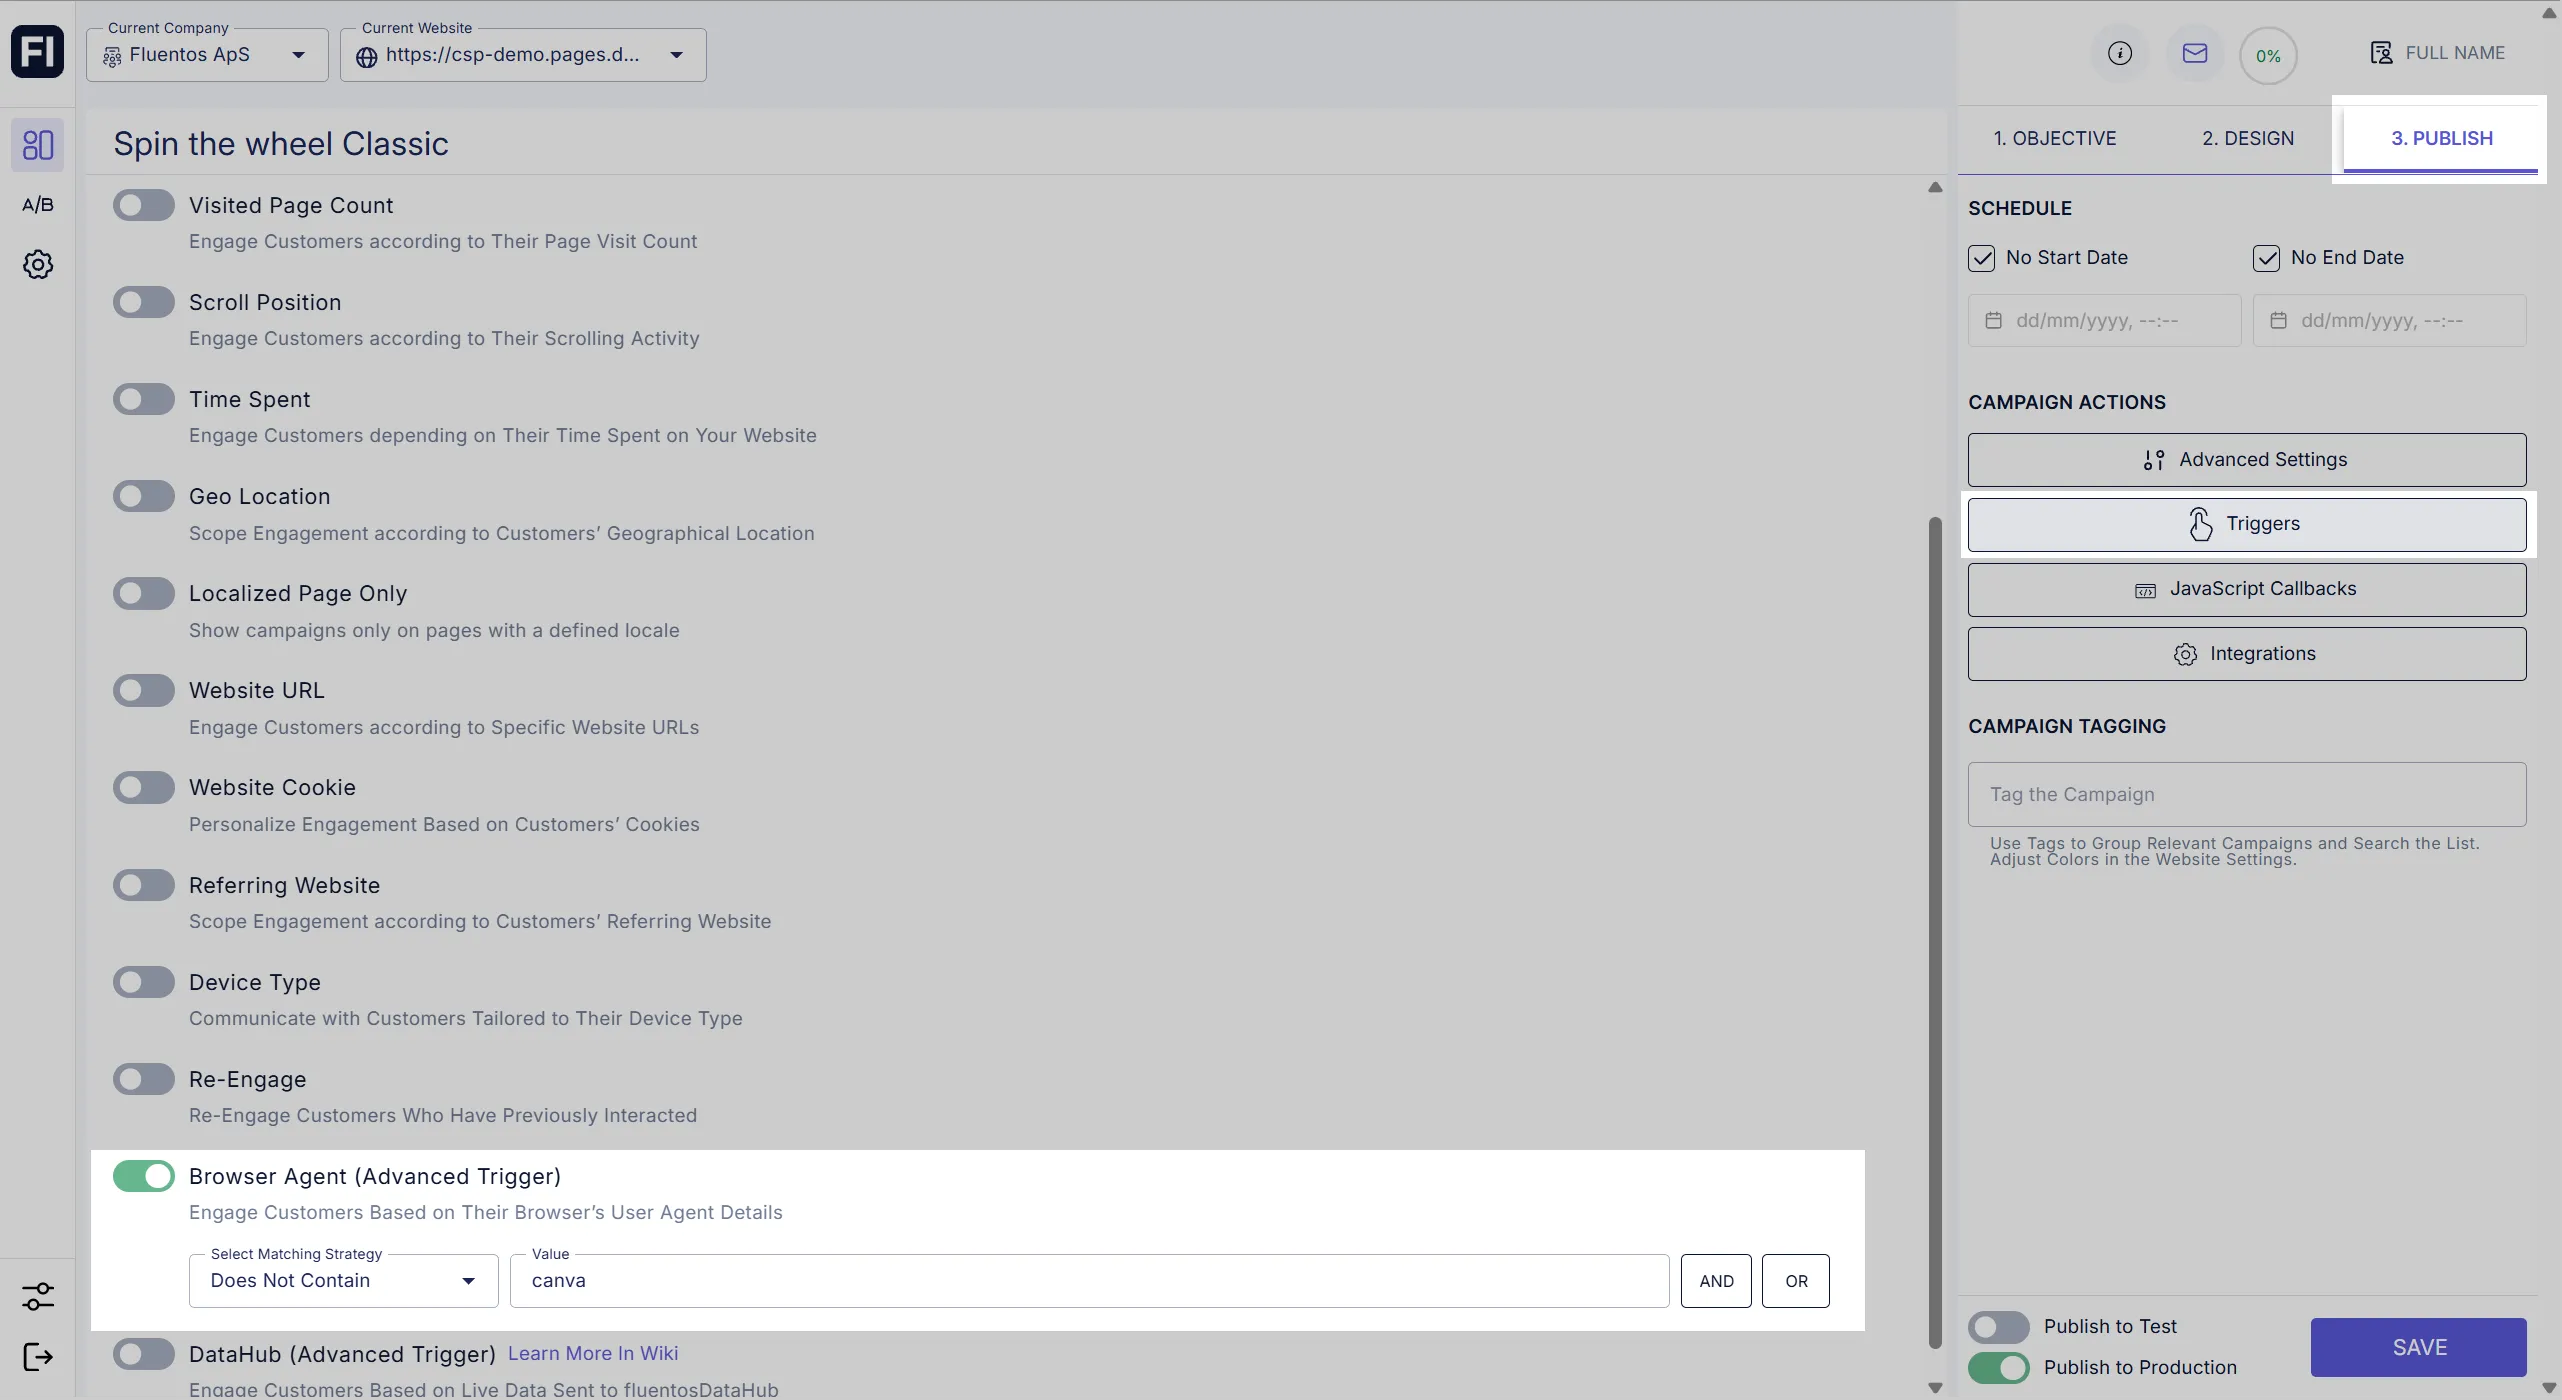
Section titled “16. Browser Agent”You can use this trigger to control the campaign appearance based on the end-user’s browser agent details. For example, if you want to display it to the users using the app that embeds the browser and not using the native application, then you can configure it here.
The embedded browser will have a specific browser signature that you can enter in the Value field to specify the application, and select “Contains” under the Select Matching Category. This way, you will allow the campaign to be displayed only on the application when it is opened in the embedded browser.
The following matching strategies are available:
- Contains: The user agent string contains the specified text.
- Does Not Contain: The user agent string does not contain the specified text.
- Is Exactly: The user agent string exactly matches the specified text.
17. DataHub
Section titled “17. DataHub”DataHub requires defining trigger values and pushing them from your website using JavaScript.
Using this trigger, you can personalize the user experience by displaying the campaign based on their use case. For example, you want to display a free shipping campaign to the user when the order value reaches a specific limit.
Learn how to configure the DataHub.
SAFEGUARDS
Section titled “SAFEGUARDS”18. Limit Opens per Session
Section titled “18. Limit Opens per Session”Prevents repeated popups on multi-page sites by limiting how many times a campaign can open per session. After reaching the limit, the campaign will not open again until a new session starts.
19. Re-Engage
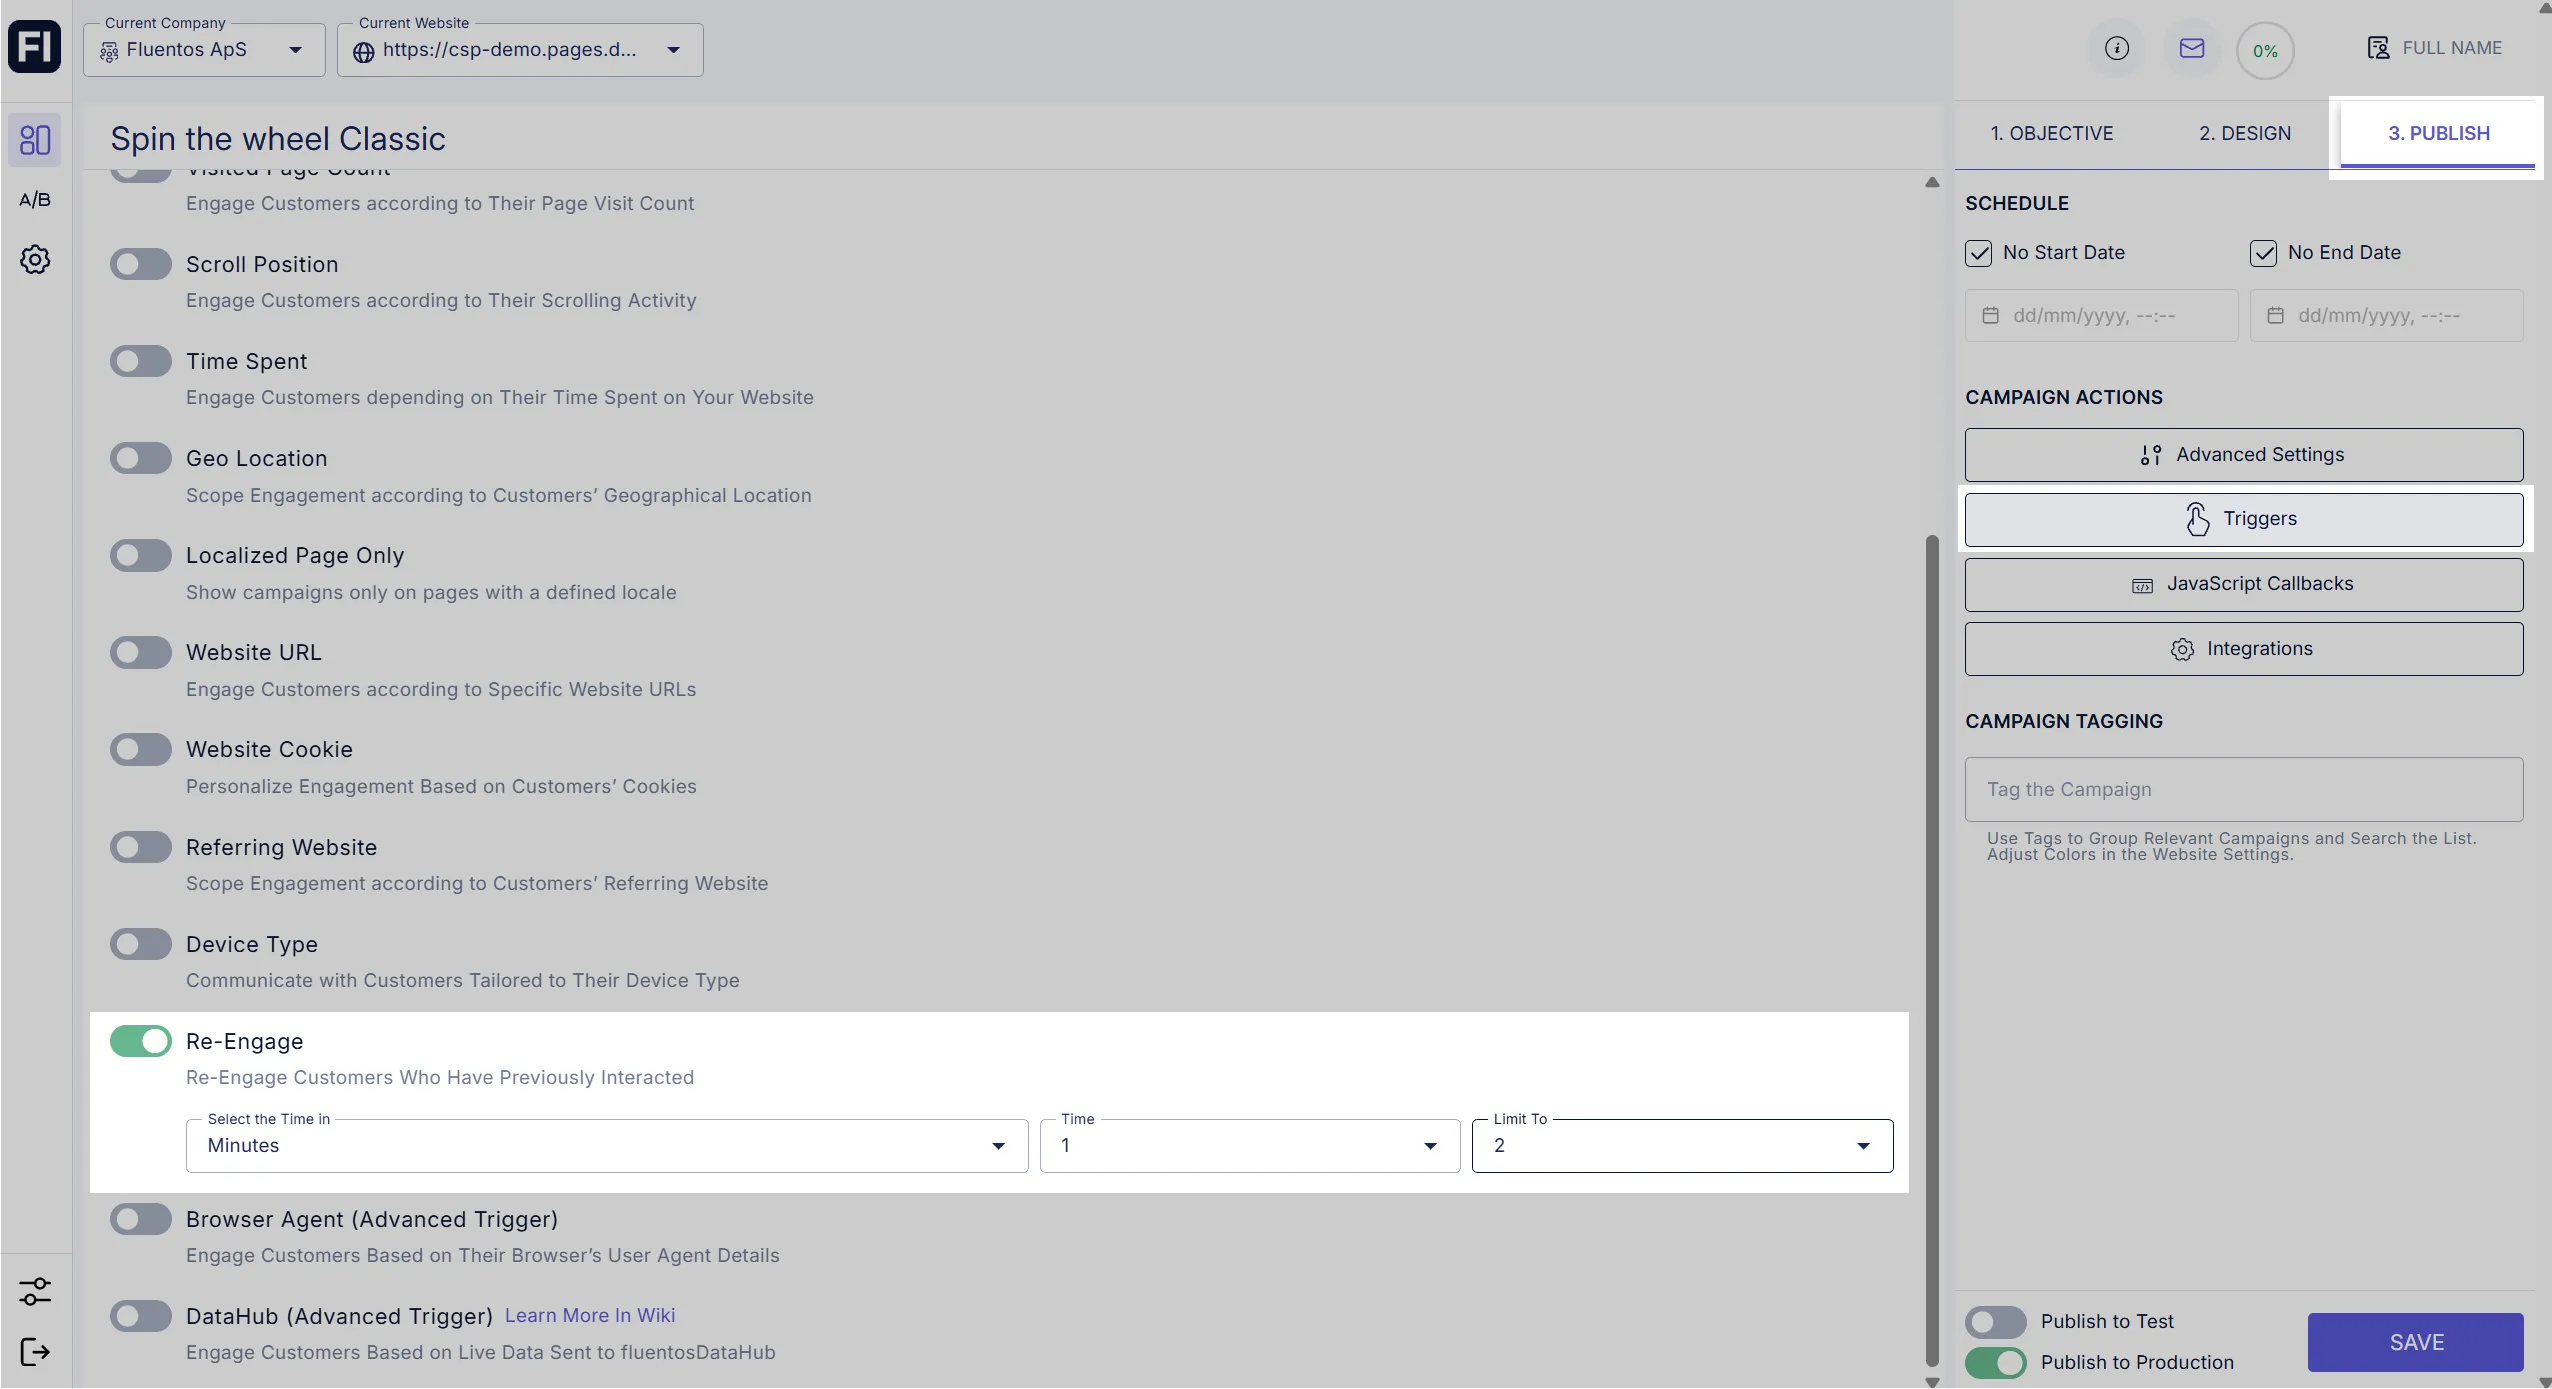
Section titled “19. Re-Engage”If enabled, this allows you to increase the chances of customer interaction or engagement with the campaign. In other words, if the user closes the campaign upon their first encounter with it, then by default, it will not be displayed to them even if they refresh the page. However, if this is enabled, you can display the campaign to the end-user again after a specific time. The following options are available:
-
Select the Time in: Select from minutes, hours, or days to define the time measuring unit.
-
Time: Select the time value from 1 - 60. This digit will identify the delay time between the first and the next display, for example, after 1 minute.
-
Limit To: Using this setting, you can limit the number of times the campaign should be displayed to the user. To limit, you can define a number from 1 - 20. For example, if you set it to 2, the campaign will be displayed only two more times after it was first closed by the user, according to the time delay settings.
Setting it to No Limit will display the campaign to the end user each time they load the webpage.
AND / OR Operators
Section titled “AND / OR Operators”This operator combines two or more conditions so that the trigger runs only when all of the conditions are true.
For example, if you consider the image below, the campaign will be launched on the website page if its URL contains the keyword “products” and does not contain the word “test”.
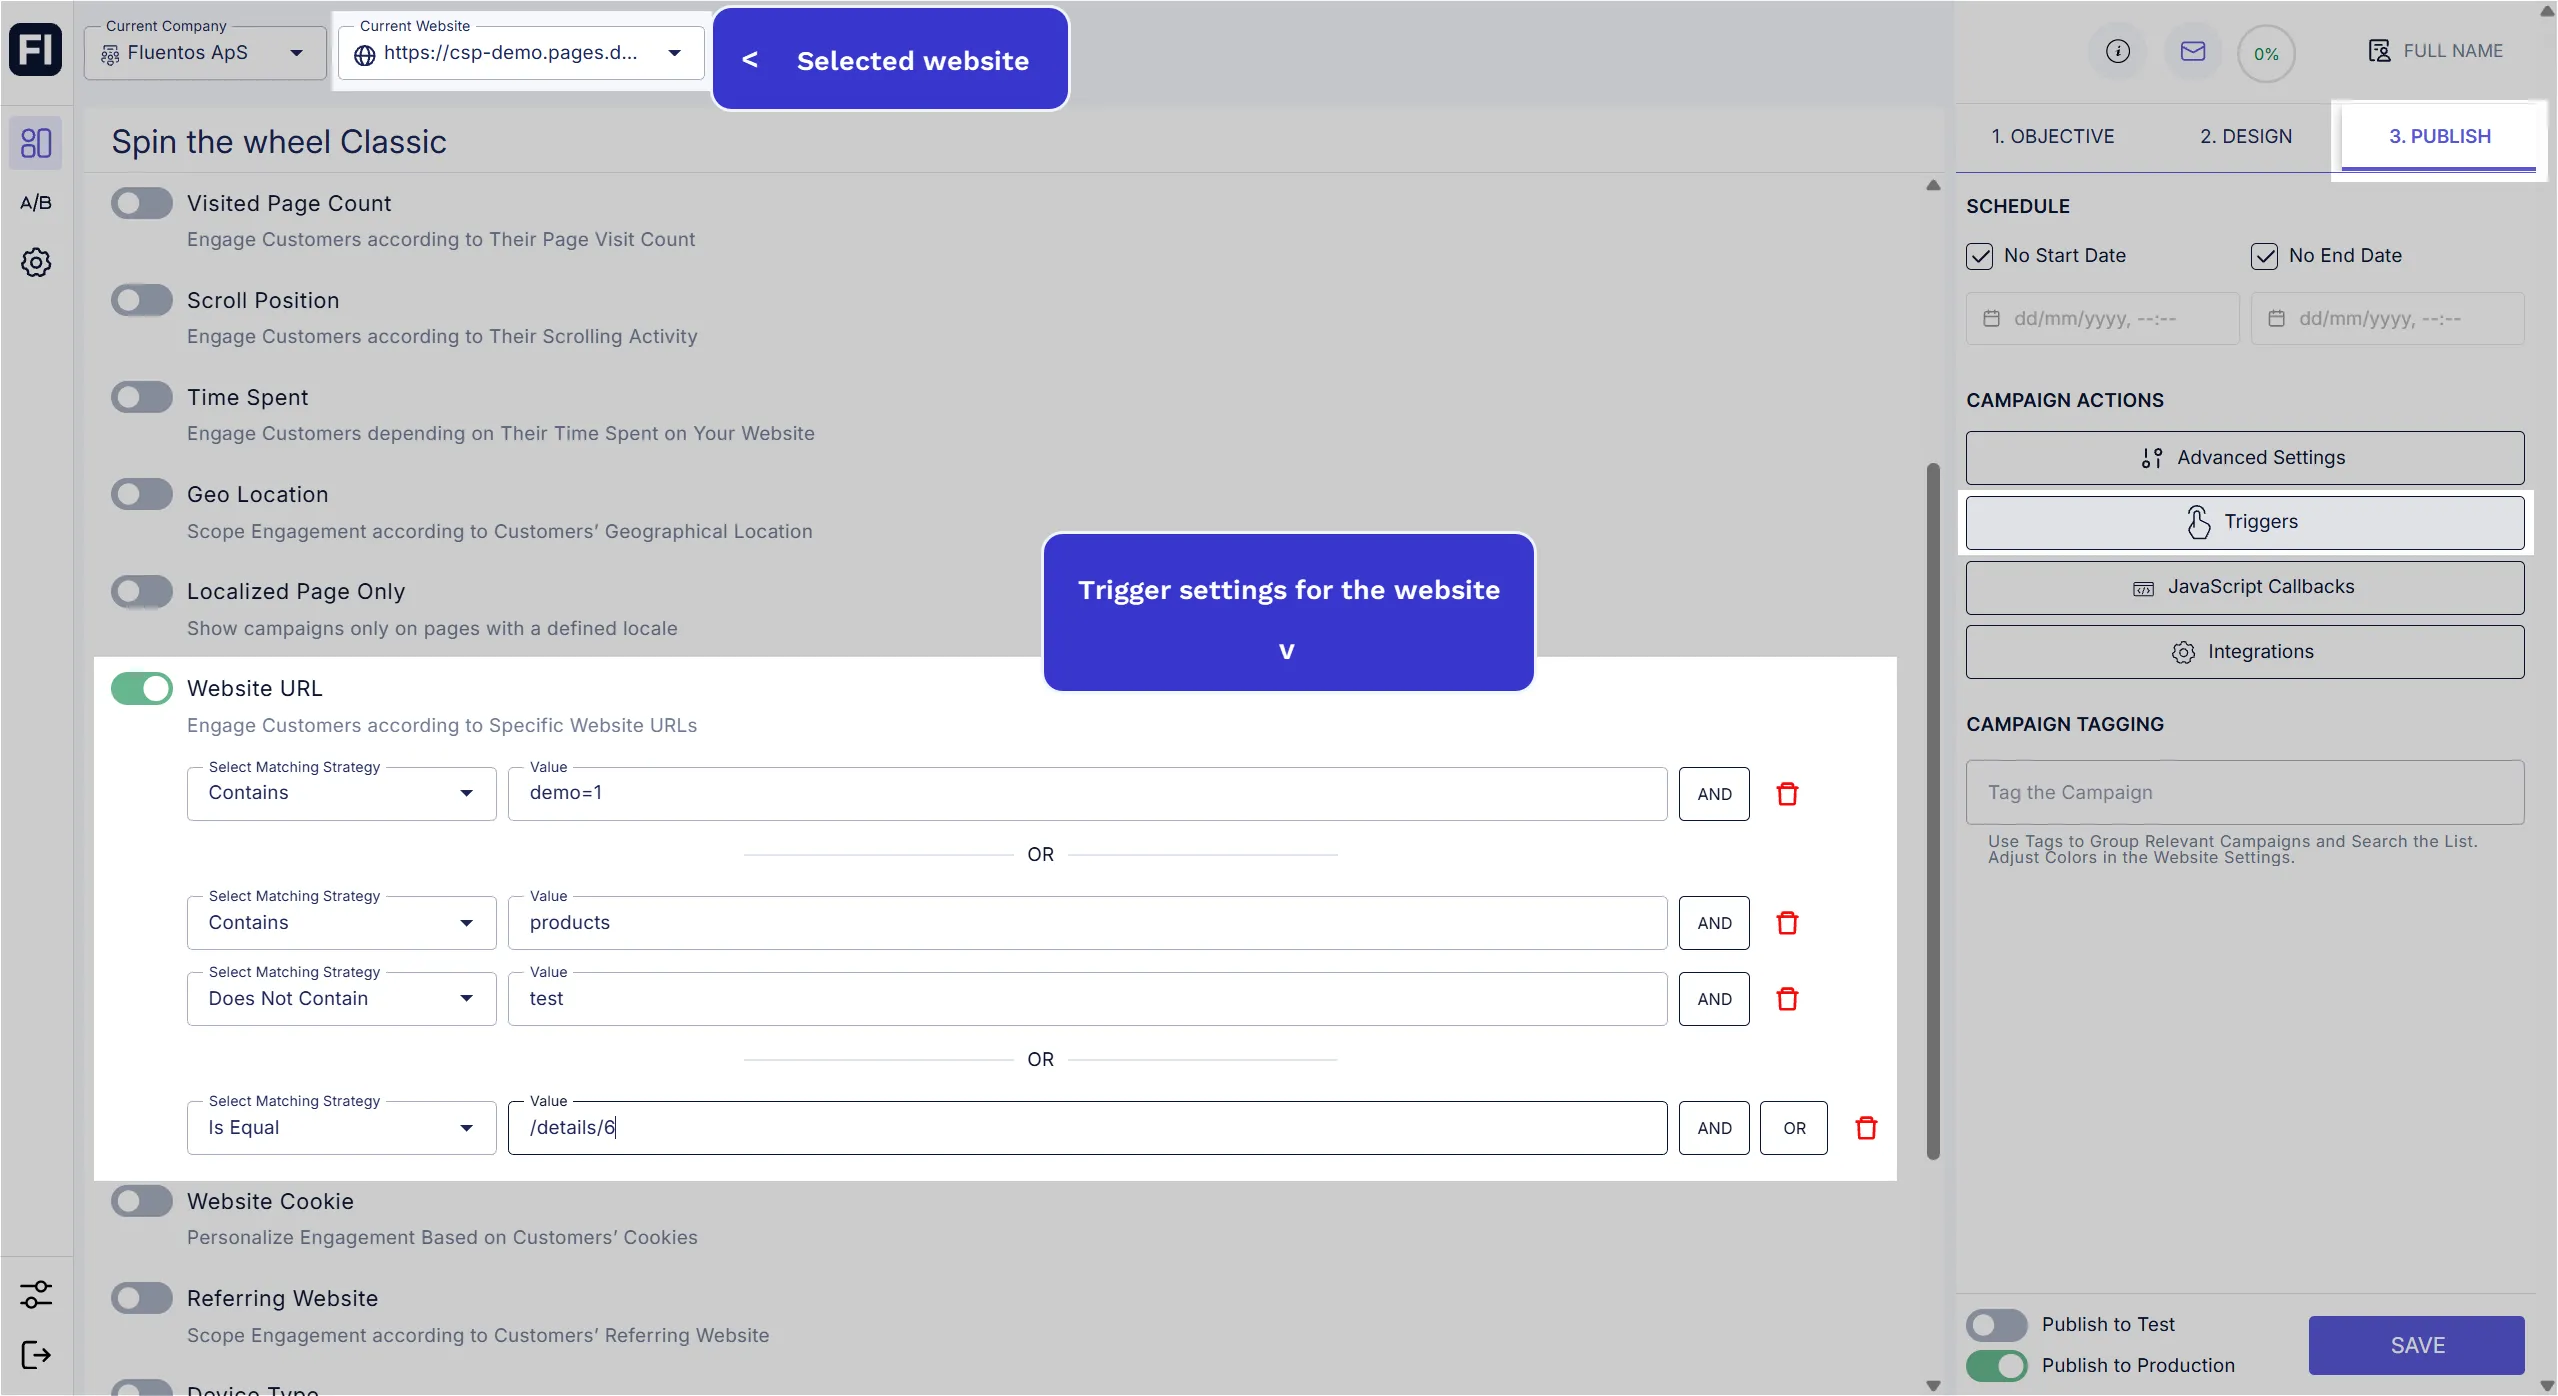
This operator is used to combine two or more conditions in such a way that the trigger will run even if one of the conditions is true. For example, if you want to run the campaign for three website pages using the Website URL trigger, then you will use the OR operator. In this case, even if one website page is taken down, the campaign will run for the remaining two pages defined.
For example, in the image shared above, three different website URLs are specified using two OR operators.
In short, the campaign will run even if one of the conditions is true for the trigger.