Add New Campaign
-
Against the curernt company, select the website to which you want to publish your campaign.

-
Click on the Add New Campaign button.
-
You will be navigated to a campaign creation page where you need to do the following:
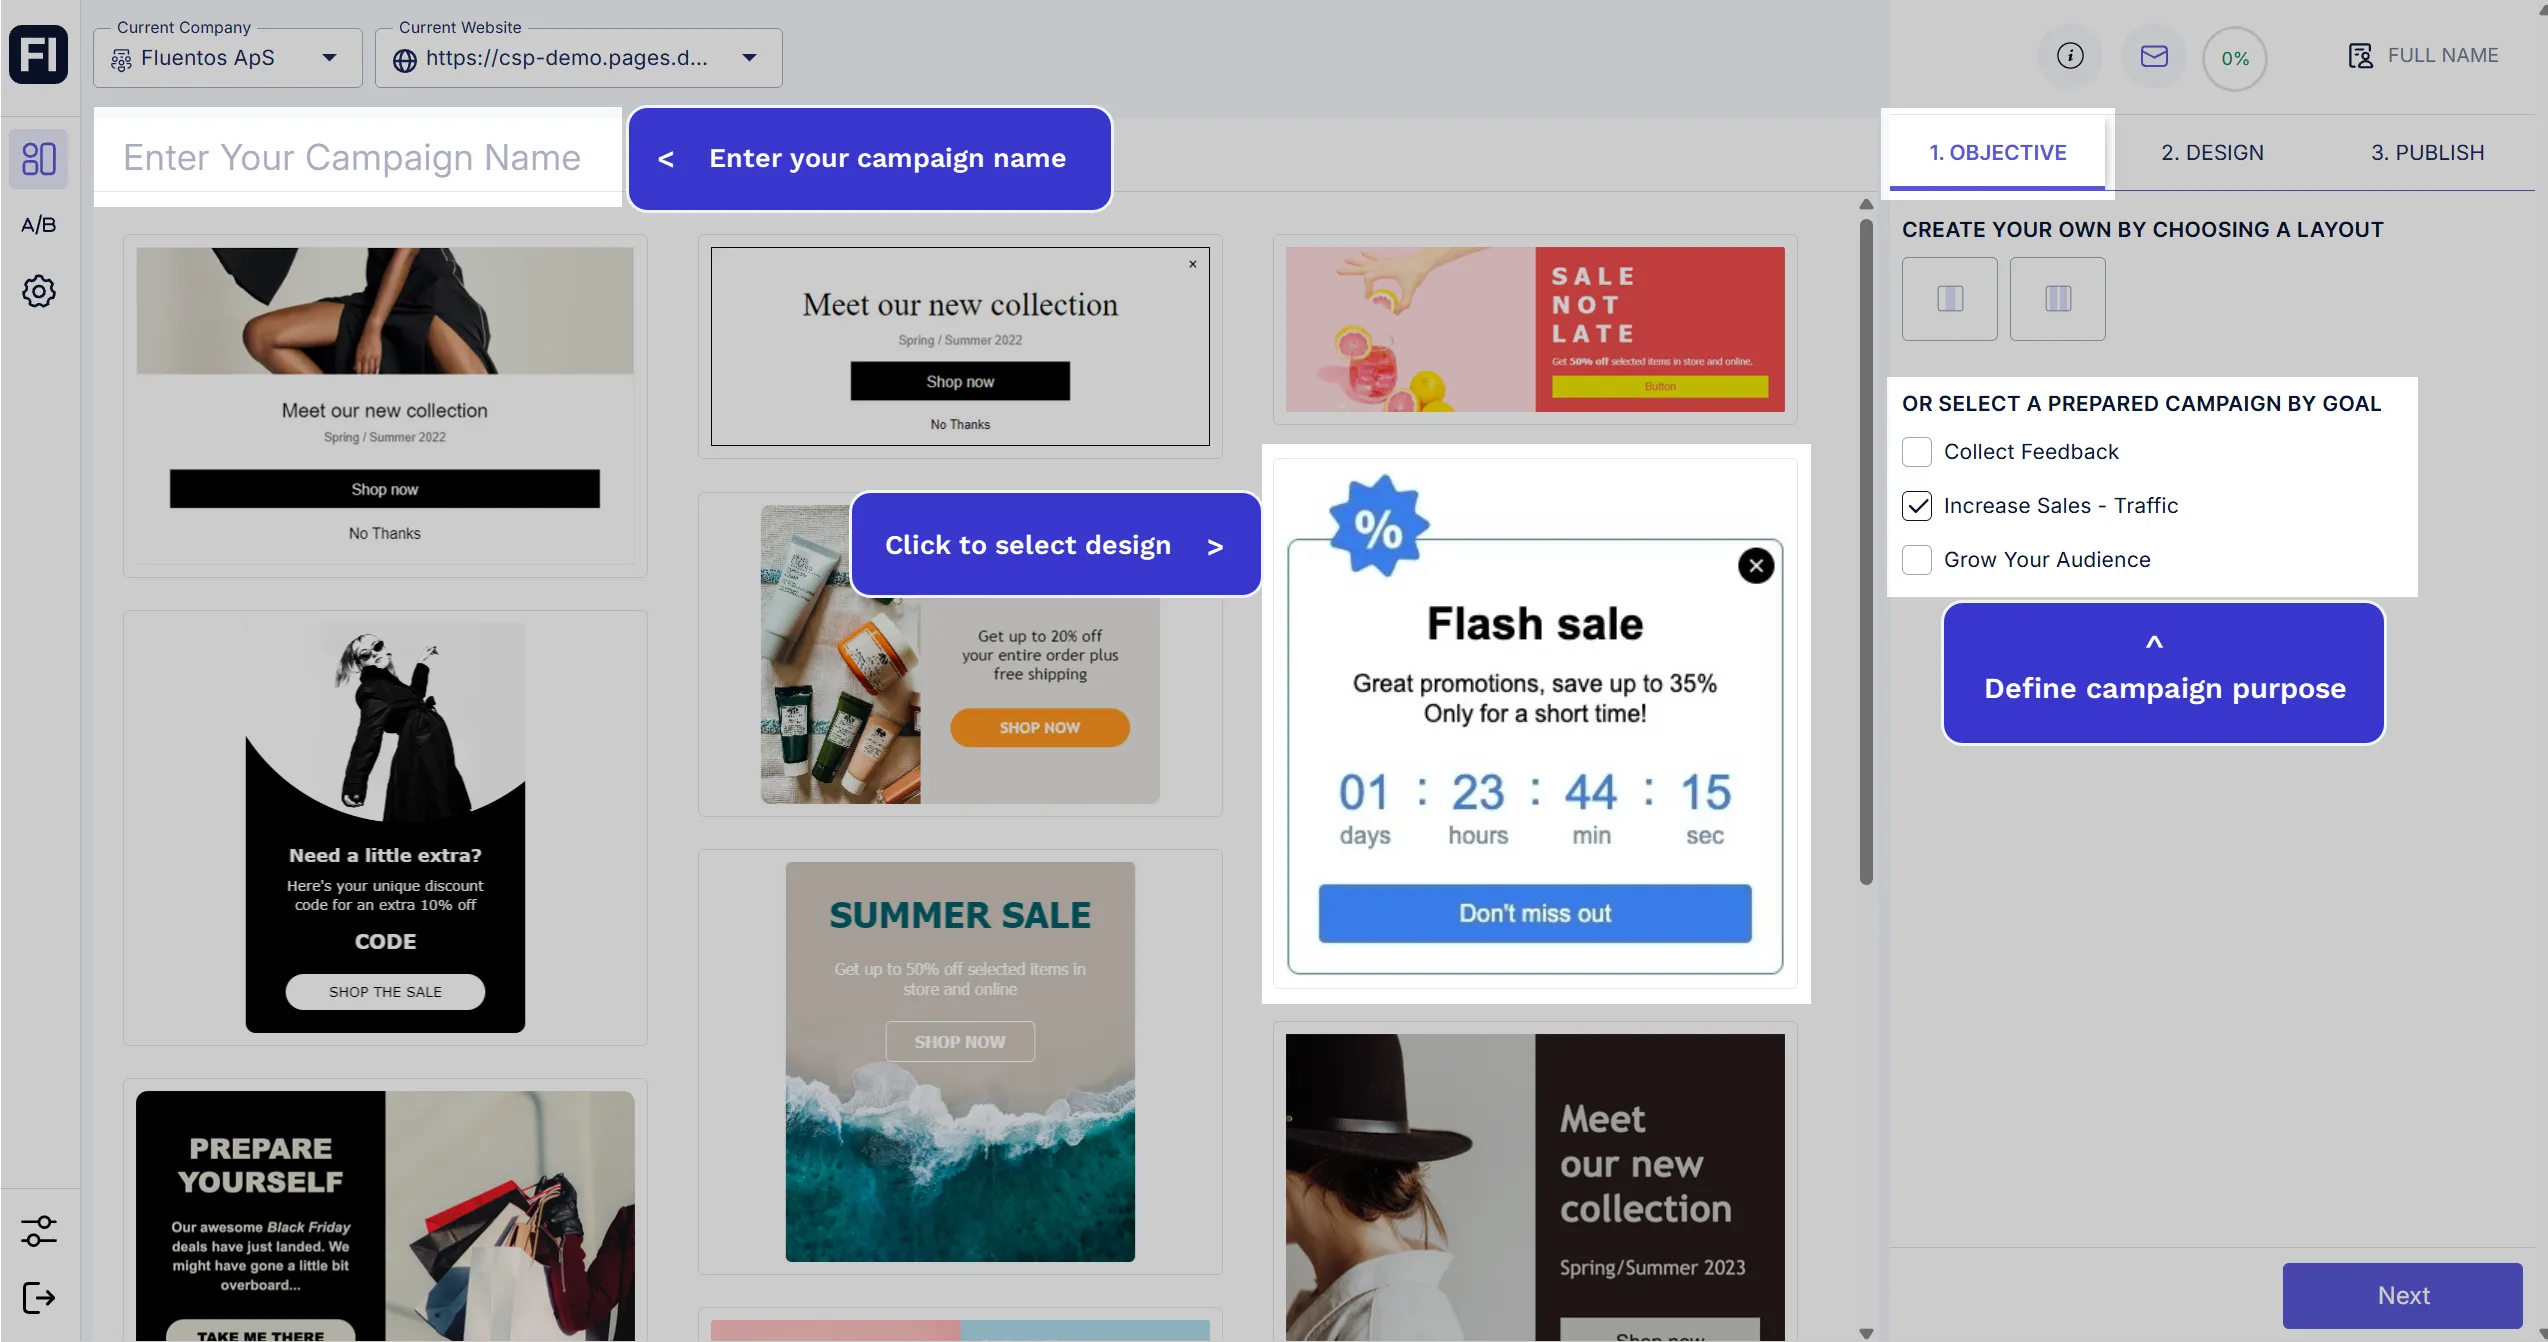
- Enter the campaign name.
- Select the campaign’s purpose from the Objective options given in the right-side panel. When you checkmark an option, the design template options will be refreshed accordingly.
- Now, select the desired template from the given options.
- As soon as you select a design template or choose your own layout option, you will be navigated to the Design step.
-
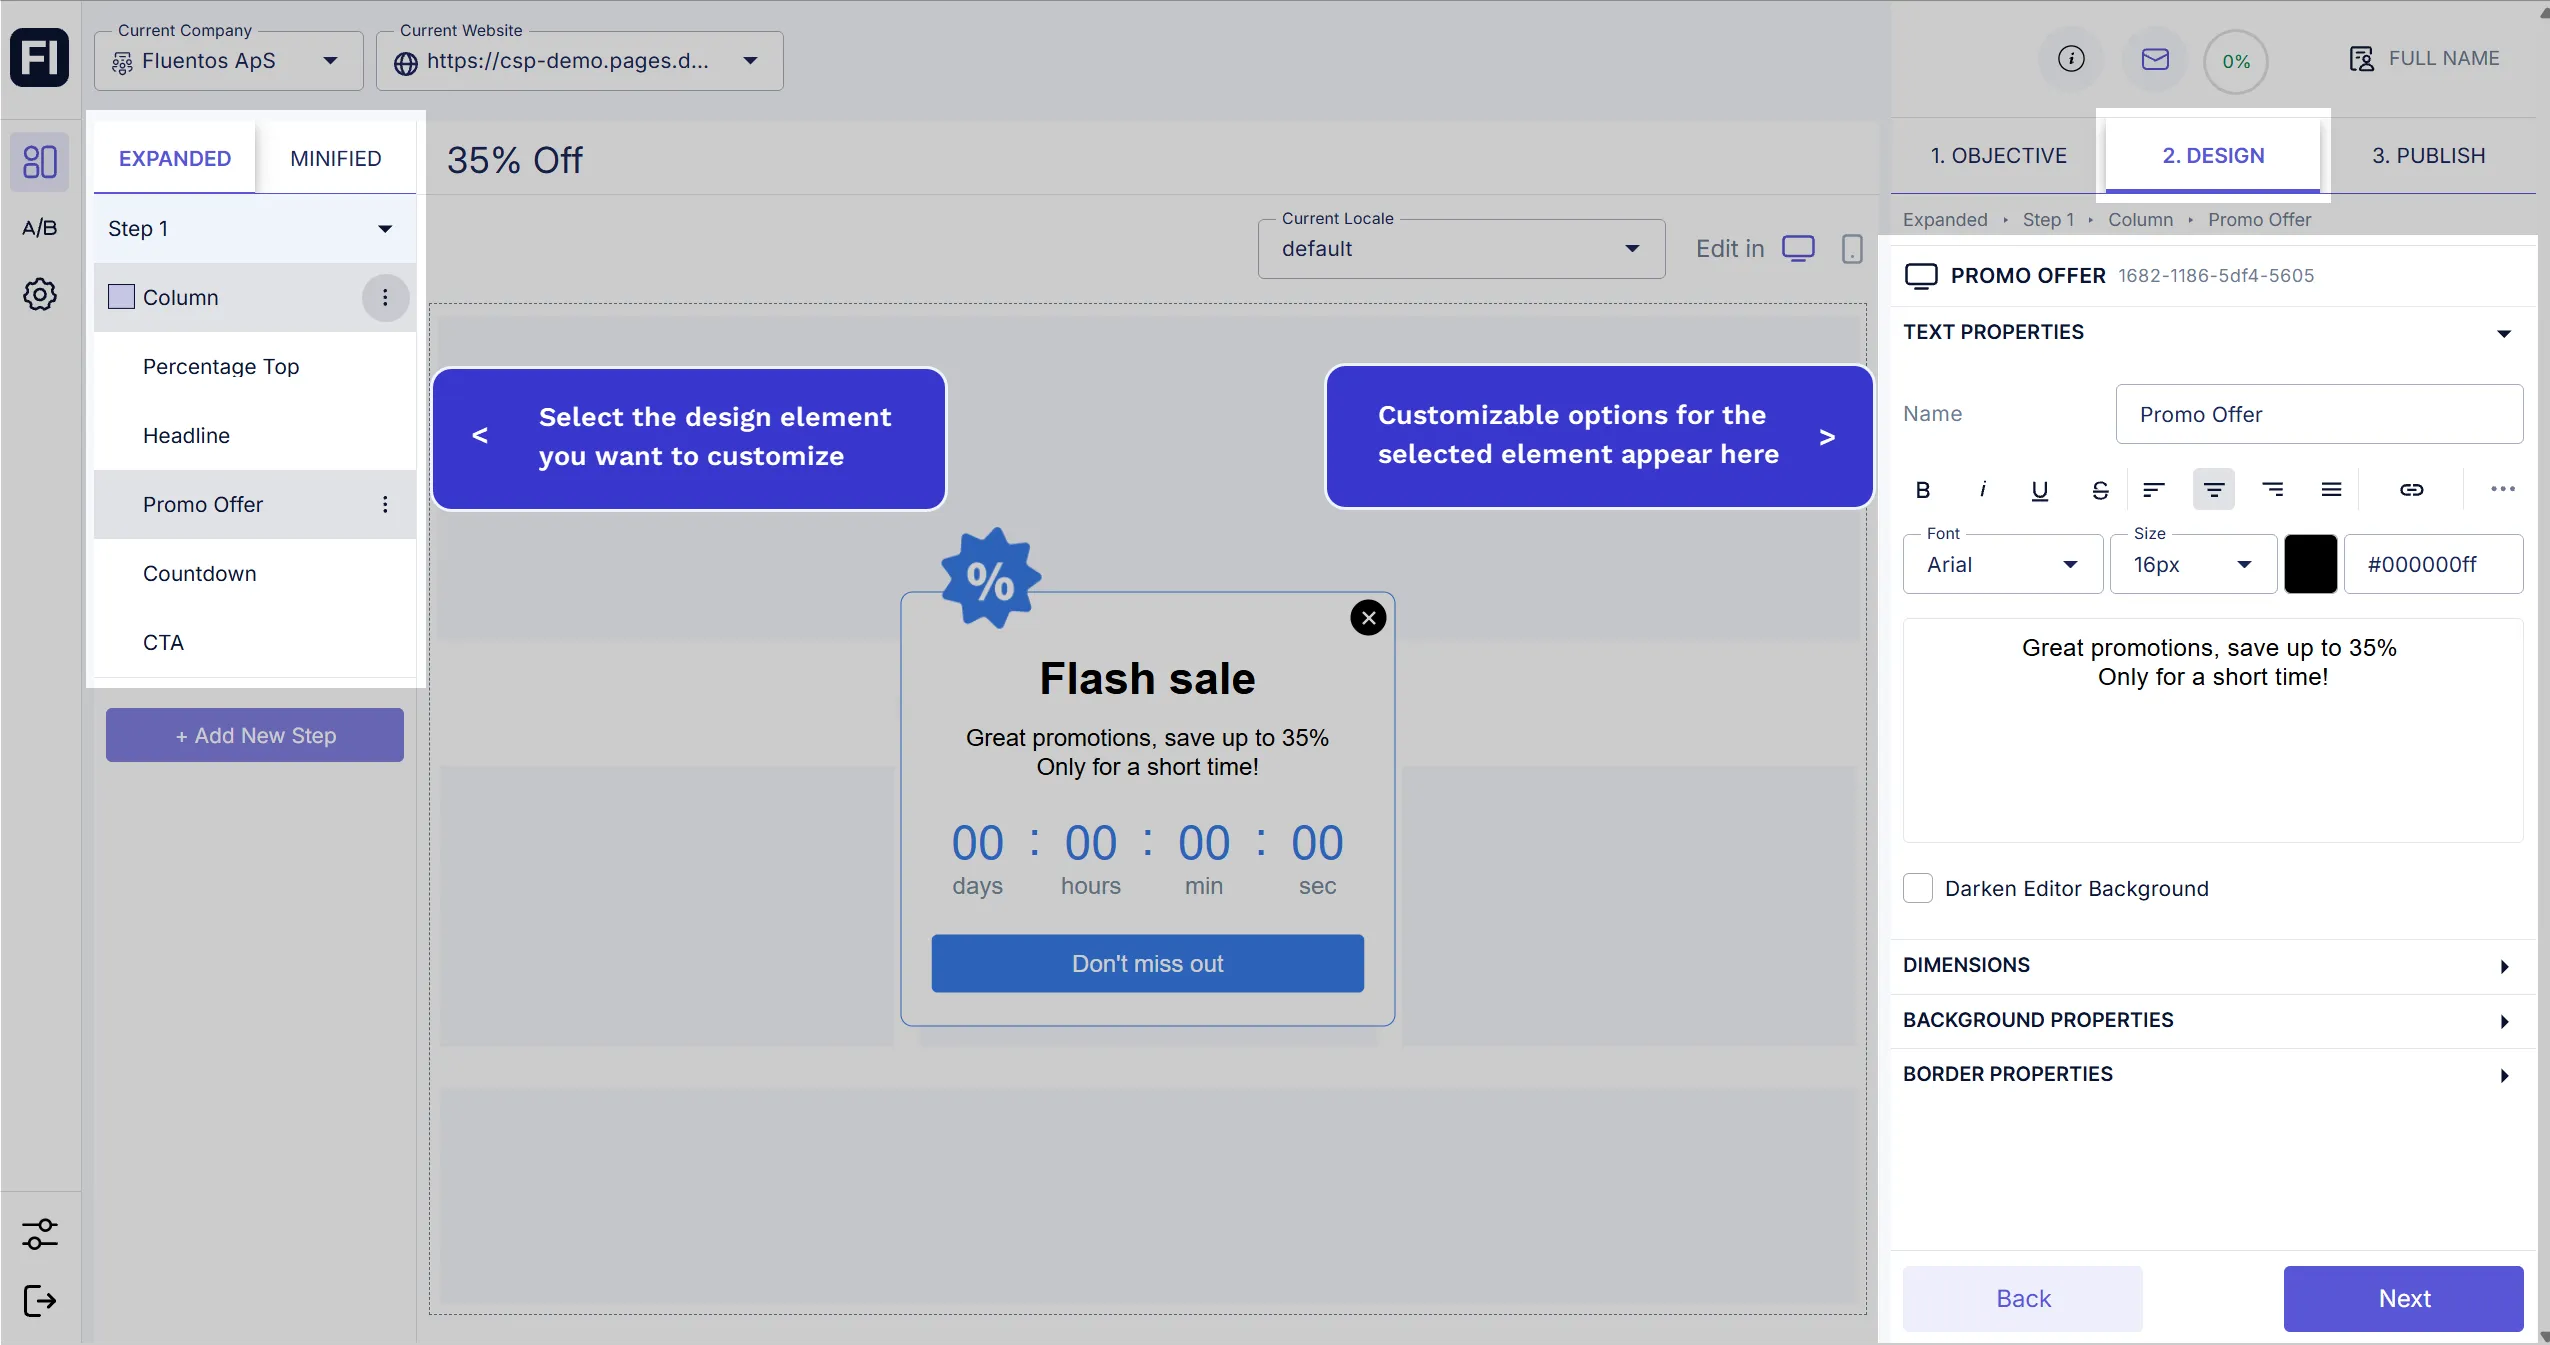
In the Design step, you can customize the selected template using the design options. To switch to different design elements of the template, use the options in the left-side panel; their customization features will appear on the right-side panel. For example, if you want to edit a certain text in the design, click on its element in the left-side panel, and its customizable features will appear on the right-side panel where you can update the text, choose a different font and color for the text, and change the spacing of the text. Once done, click Next to go to the Publish step.
-
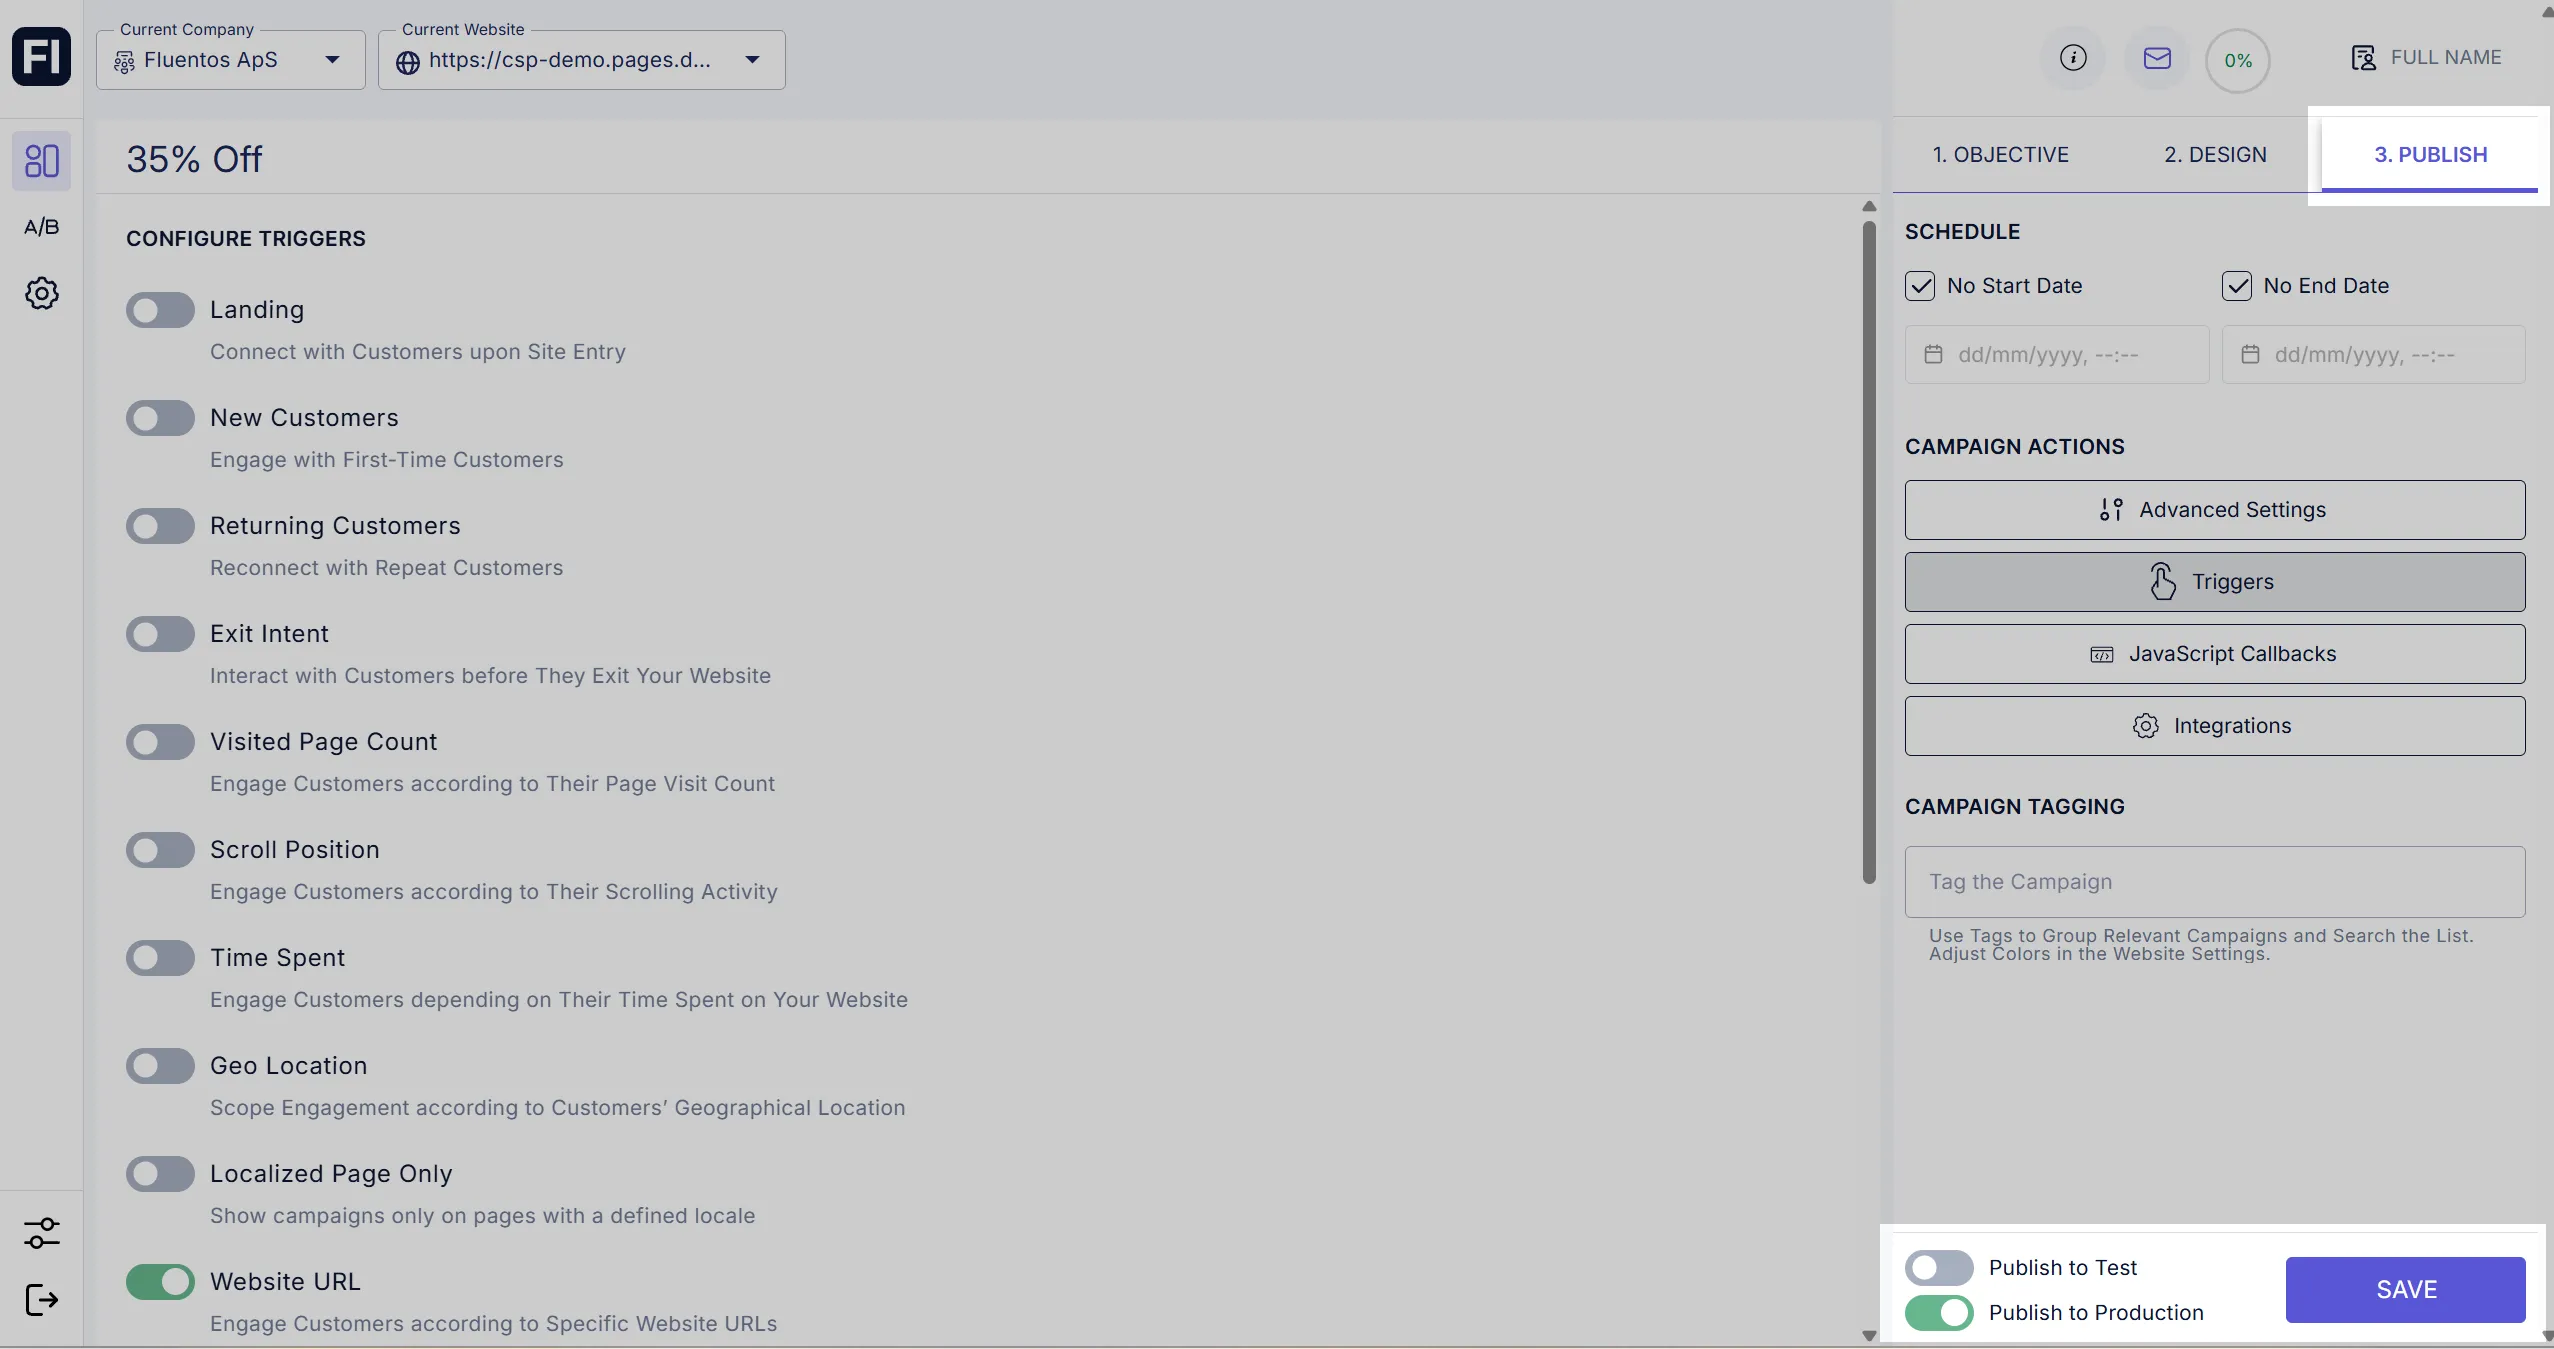
In the last step, you can configure final settings for the campaign before you save and publish it.
-
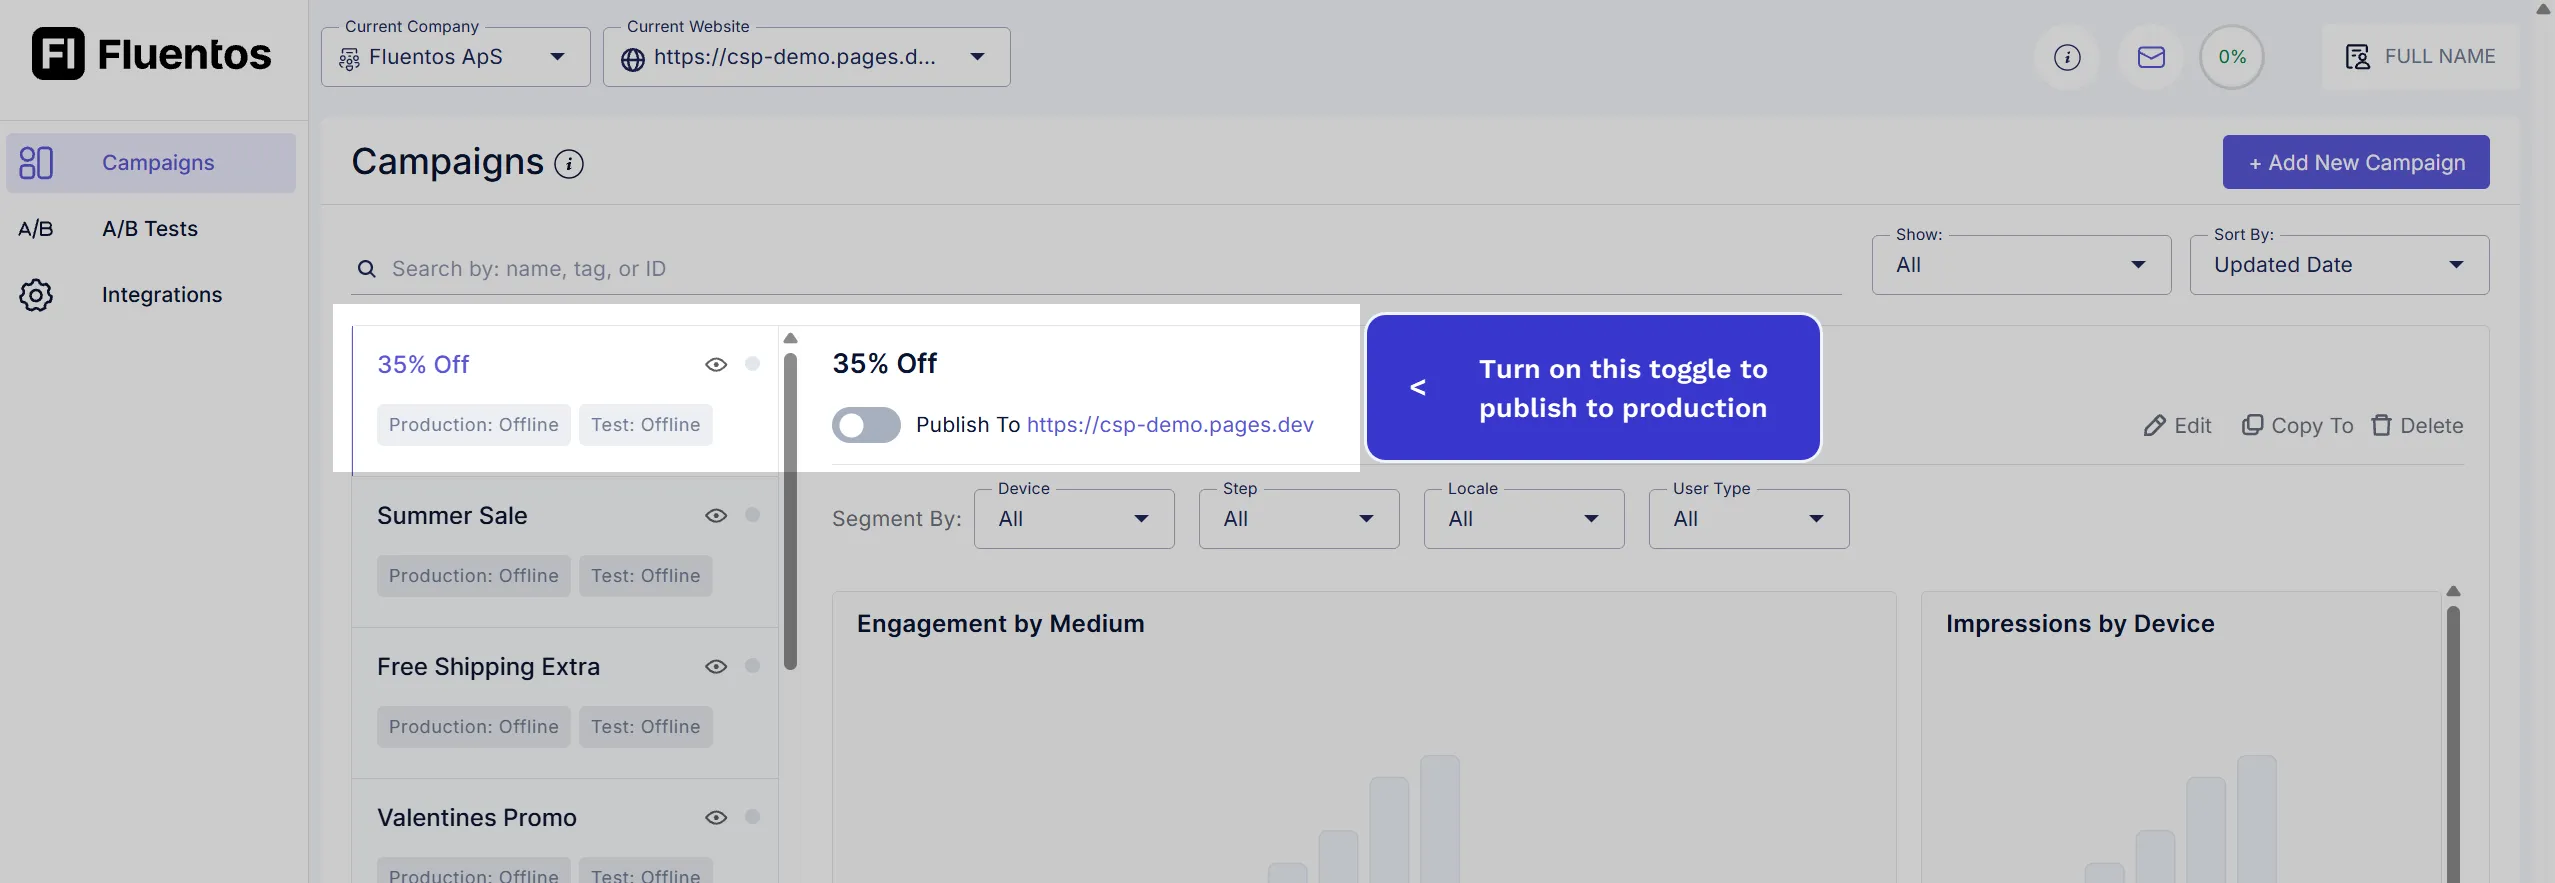
Once the campaign is saved, you will be redirected to the Campaigns page, where your newly created campaign will be listed at the top of the list. If you already published it, you can click the website link to visit and test it.
-
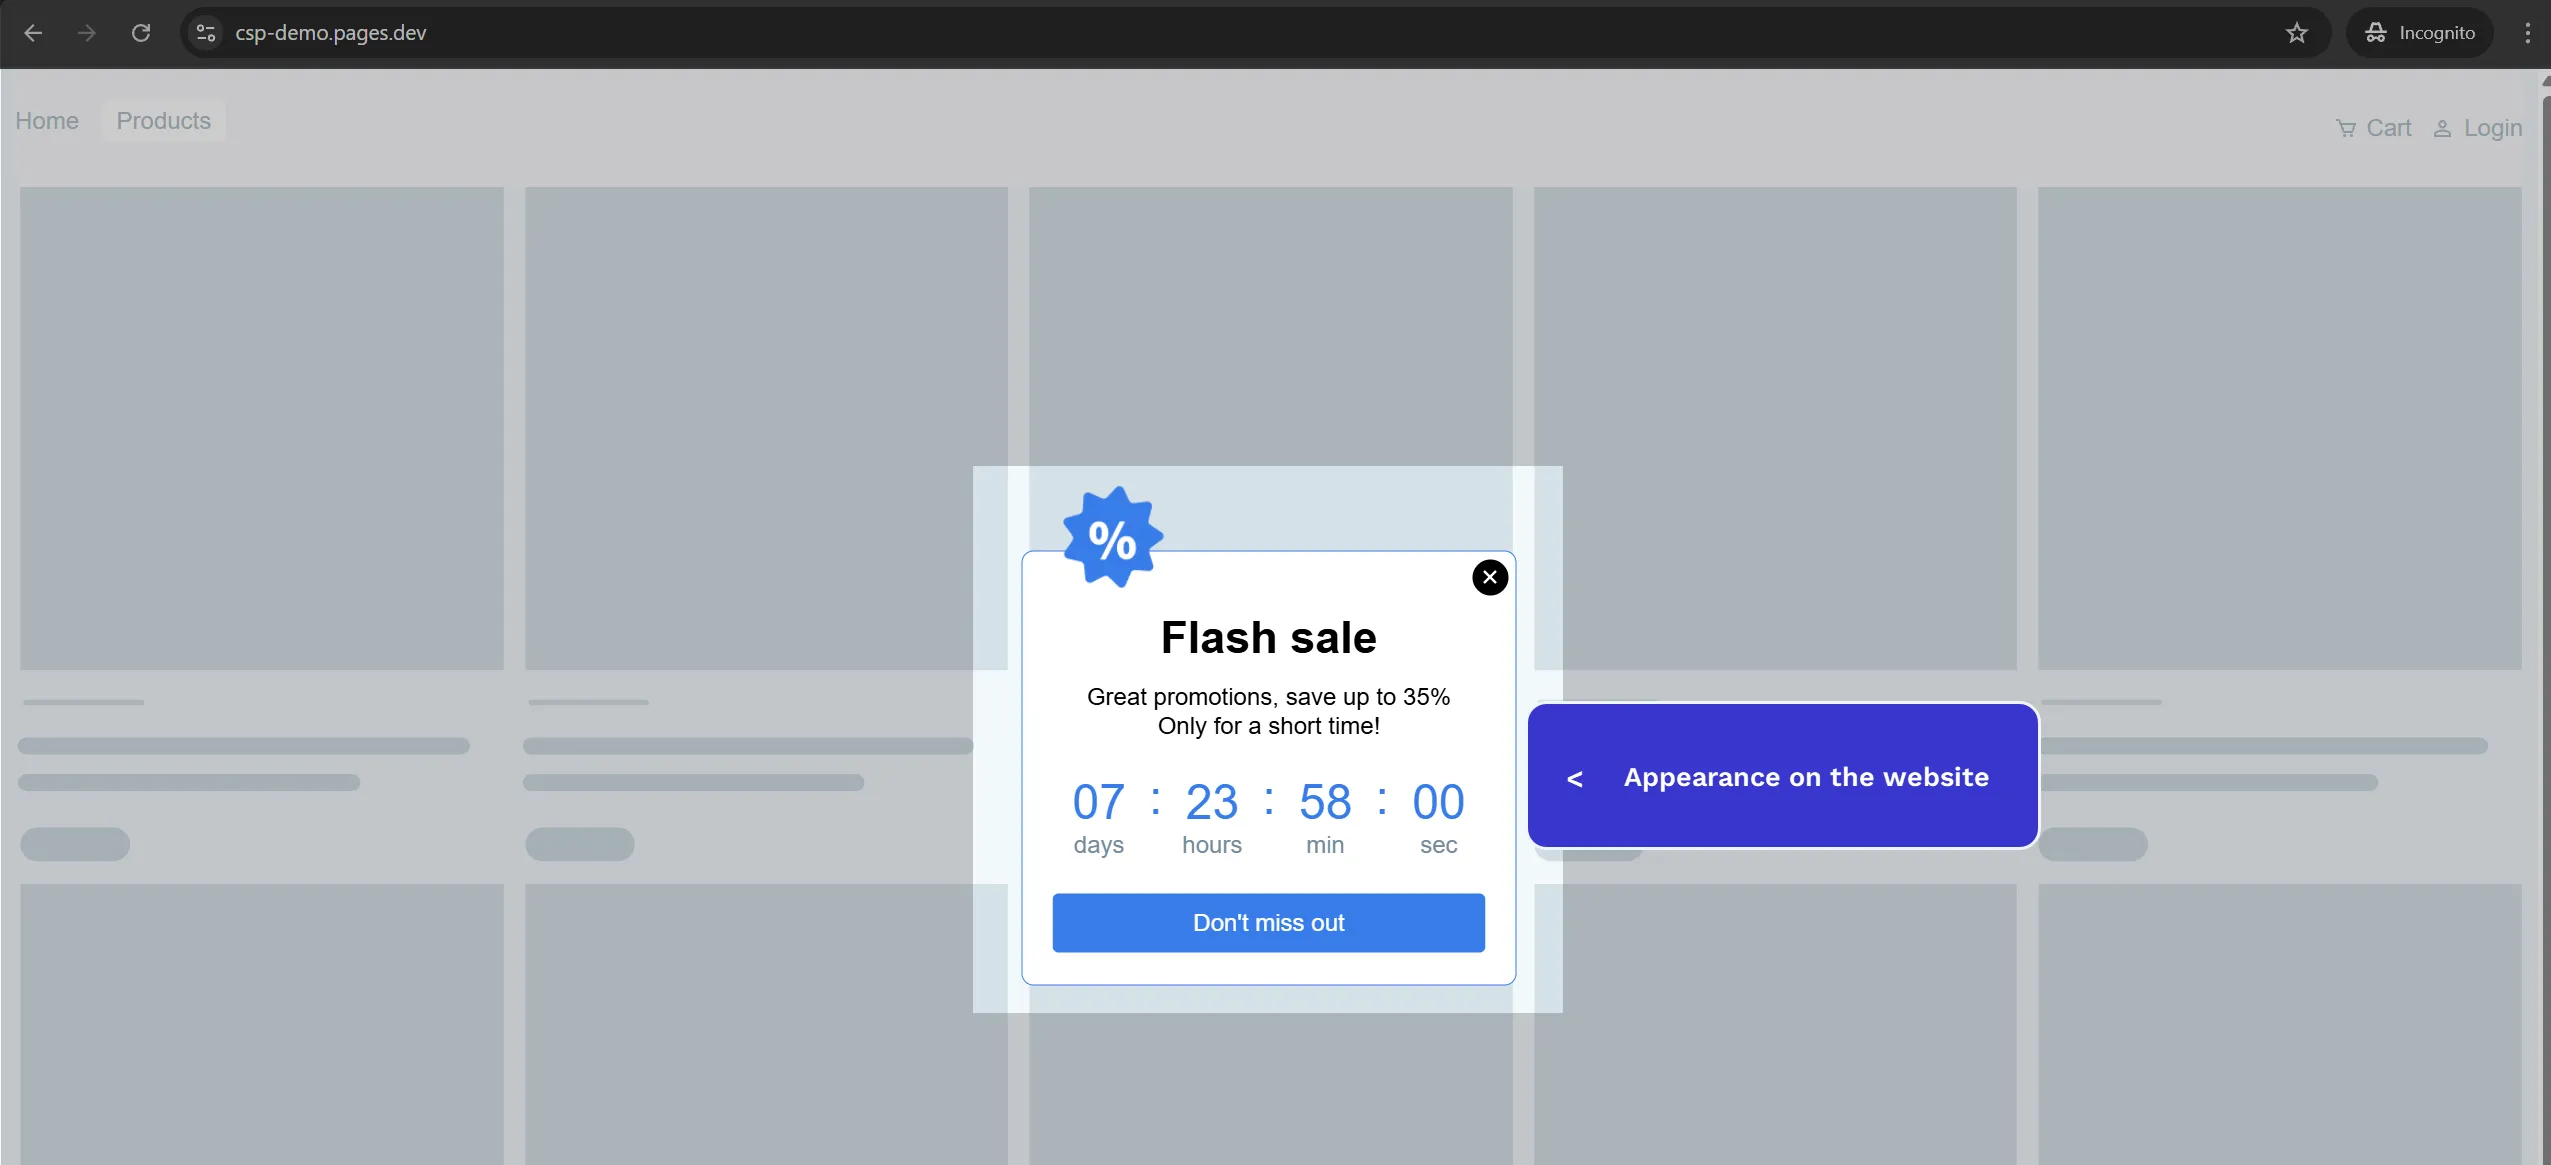
The image below displays how the configured campaign appears on the website.
